CRM and store customers
Mail your customers when your CRM or store records a job or a sale.
Overview
A CRM or store campaign mails the people in your own tools. LettrLabs reads the new records each day. When a record matches your filters, the campaign mails that person.
You can use CRM and store campaigns to:
- Mail a customer after a job, or when a service comes due.
- Mail people with an open estimate, or win back past customers.
- Mail your Shopify customers or your Klaviyo segment.
- Start a campaign before the CRM is connected, and turn it on later.
These sources are offered: ServiceTitan, AccuLynx and Salesforce, Shopify, and Klaviyo. HubSpot, Housecall Pro and Job Nimbus are coming soon.
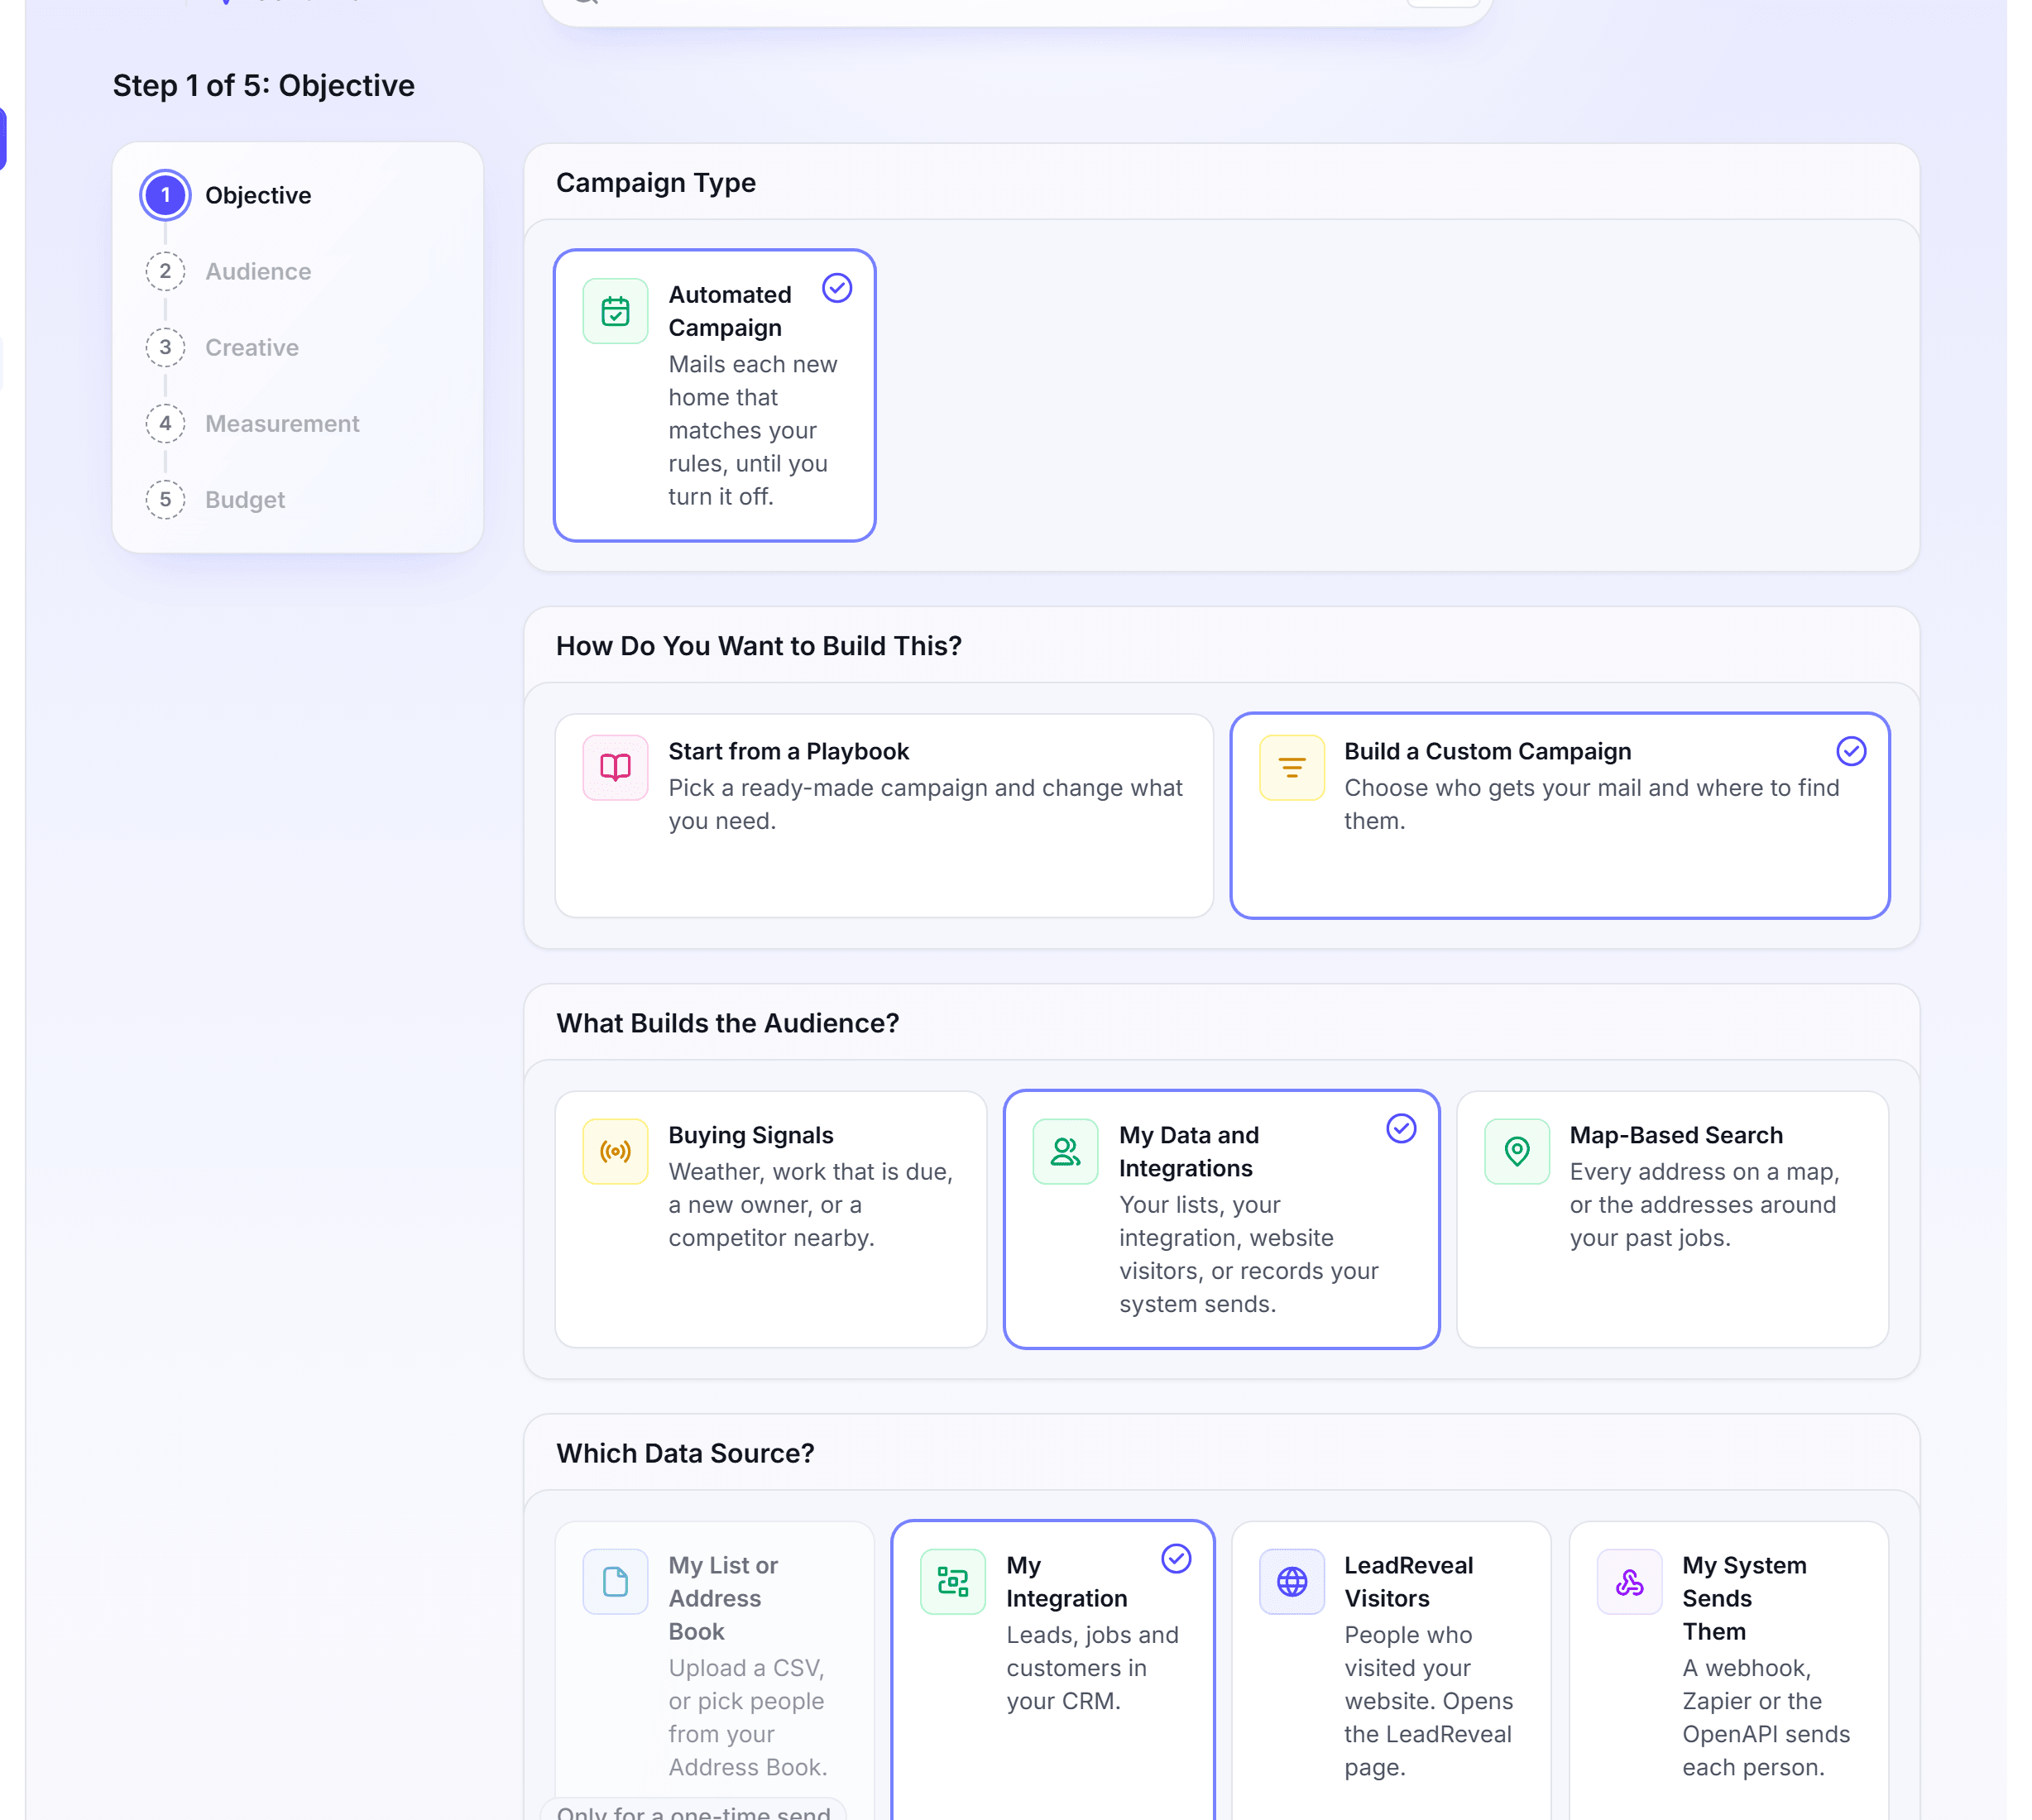
Mail your CRM customers
Do this to mail the customers, jobs or estimates in ServiceTitan, AccuLynx or Salesforce.
You need the Core plan or higher, and a connected CRM.
In the left navigation, click Send Mail.
Click Automated Campaign, then Build a Custom Campaign.
Under What Builds the Audience?, click My Data and Integrations.
Under Which Data Source?, click My Integration.
Under Choose Your Integration, click your CRM.
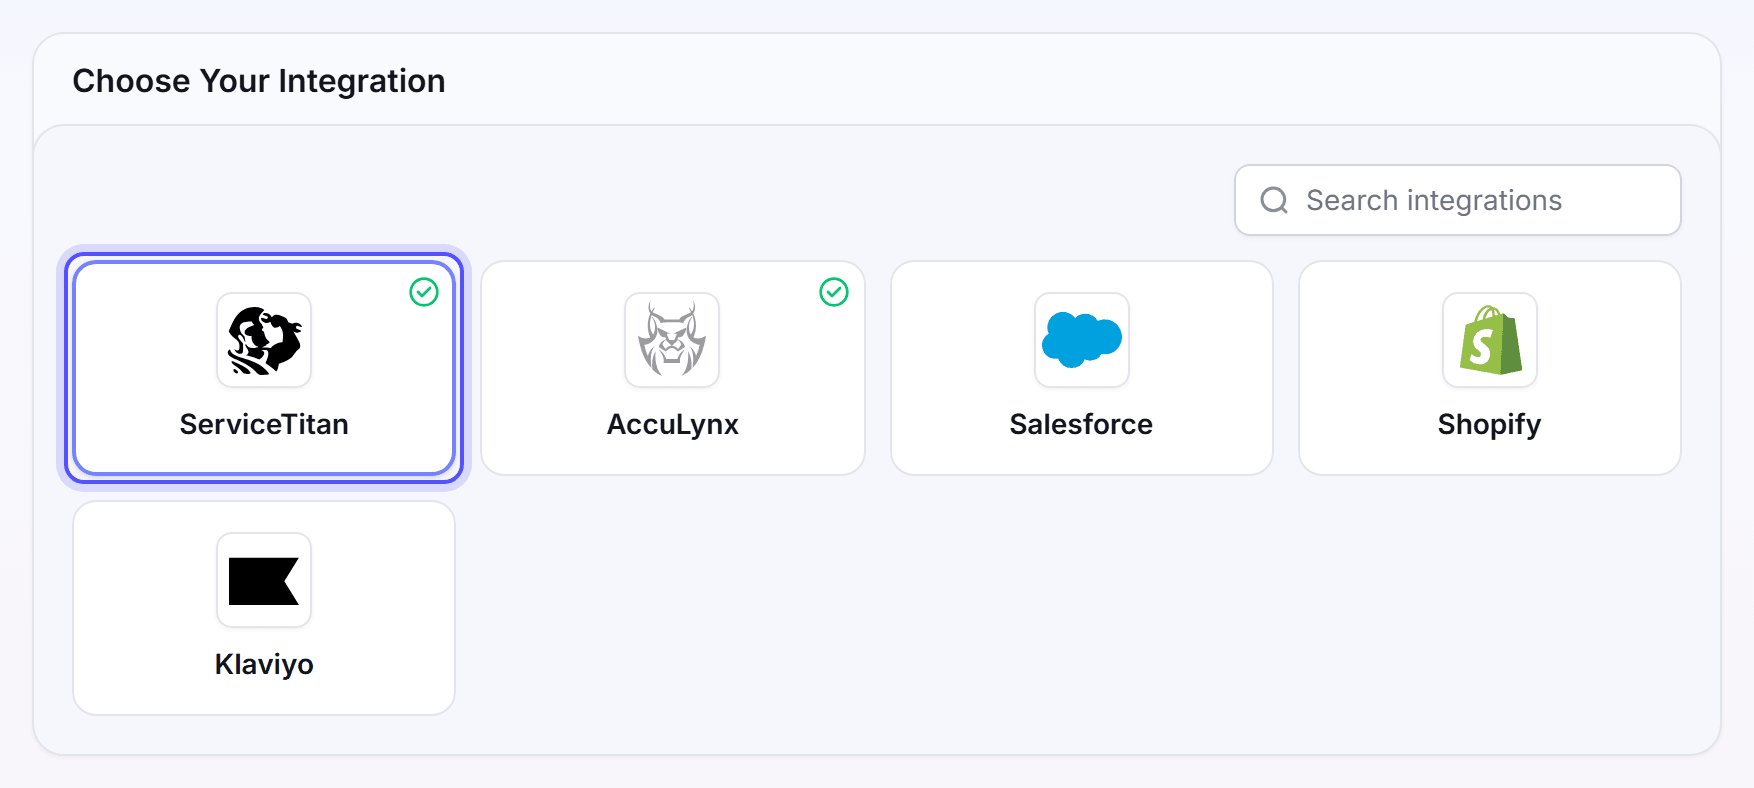
Click Next. In Pick the records to mail, check the CRM account.
Set the filters that pick the records, such as the job status or the date the job was completed.
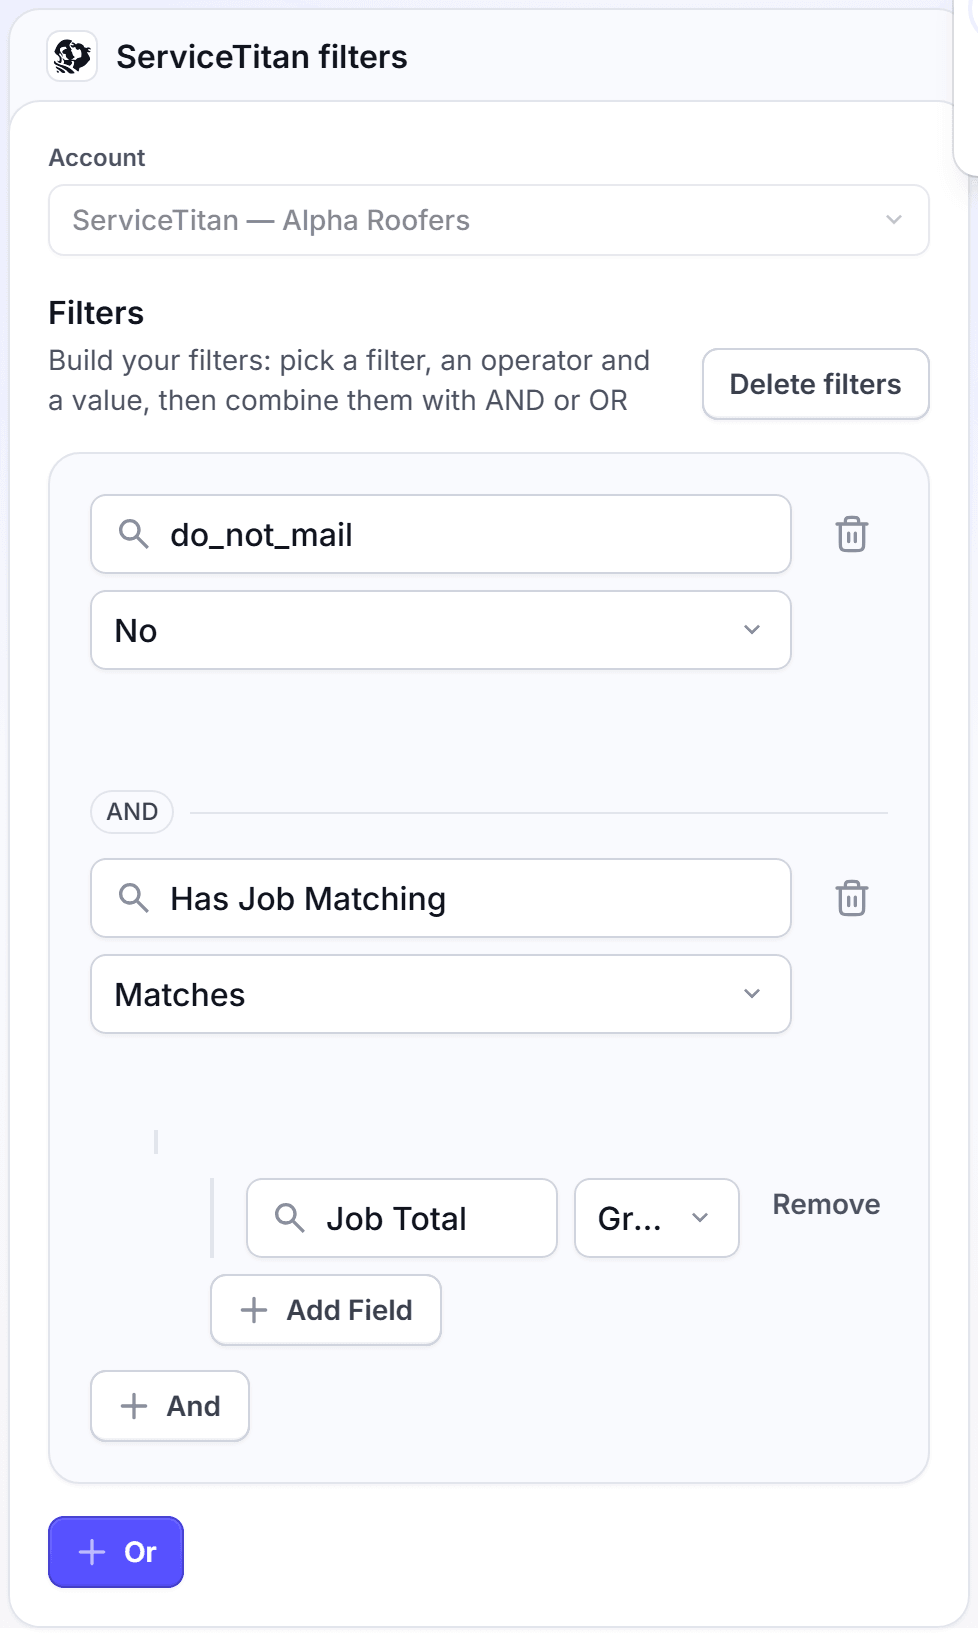
Optional: On the Exclude page, set who must not get the card.
Finish the Creative and Measurement steps.
On the Budget step, set the Monthly limit. Leave it empty for no limit.
Click Turn it on, then confirm the name.
In the Enable Automation dialog, click Enable Automation.
The Monthly limit is the most first touches the automation mails each month. Set 50 or more. Each first touch starts the sequence of cards to one home.
If the first sync of the CRM is not complete, a note says that the campaign may not use its full potential yet. You can turn it on, or wait for the sync.
You're done when the message "is created" shows with the campaign name. The campaign page opens. Each new record that matches then gets mail.
Mail your Shopify or Klaviyo customers
Do this to mail the customers of your Shopify store, or a segment of your Klaviyo account.
You need the Core plan or higher, and a connected Shopify store or Klaviyo account.
In Send Mail, click Automated Campaign, then Build a Custom Campaign.
Click My Data and Integrations, then My Integration.
Under Choose Your Integration, click Shopify or Klaviyo.
Click Next. In Shopify set-up, pick the Store and the Filters. In Klaviyo set-up, pick the Segment and the Filters.
Finish the Creative, Measurement and Budget steps.
Click Turn it on, then confirm the name.
For Klaviyo, pick a Look-back date in the dialog. It sets how far back to add people to your segment.
Click Enable Automation.
The look-back date has a limit, and the field hint gives the most days back.
You're done when the message "is created" shows with the campaign name. Each new customer or segment member that matches then gets mail.
Connect a CRM while you build a campaign
Do this when you pick a CRM in Send Mail that is not connected yet.
In Send Mail, pick the CRM under Choose Your Integration.
A note shows, such as "Connect AccuLynx to turn this on". Click the link in the note, such as Connect AccuLynx.
Connect the CRM on the Integrations page.
In the left navigation, click Campaigns, then click the Drafts tab.
Open your draft, then finish the steps and click Turn it on.
Send Mail saves each change to the draft. The connect page does not take you back to the draft, so open it from Drafts. Turn it on stays off until the CRM is connected.
You're done when the note goes away and Turn it on works.
FAQ
Related
Native integrations
Connect ServiceTitan, AccuLynx, Salesforce, Shopify or Klaviyo.
Automated campaigns
Add touches, set the budget and edit an automation.
Area and radius mail
Mail the homes near each new CRM job.
Steps checked 2026-11-16.