Templates
Design a card once, check that it can print, and mail it in each campaign.
Overview
A template is a saved card design for one product. Each LettrLabs campaign mails a template, so you make one before your first send. LettrLabs checks each design before it can print.
You can use Templates to:
- Design a handwritten card, a postcard or a letter in the design editor.
- Edit, rename, duplicate or delete your designs.
- Use a template that your organization or a partner shares with you.
- Sort your templates with your own use-case tags.
A template page has three steps: Product, Design and Review.
Create a template
Do this before your first campaign, or when you need a new design. The steps make a handwritten flat card with an envelope.
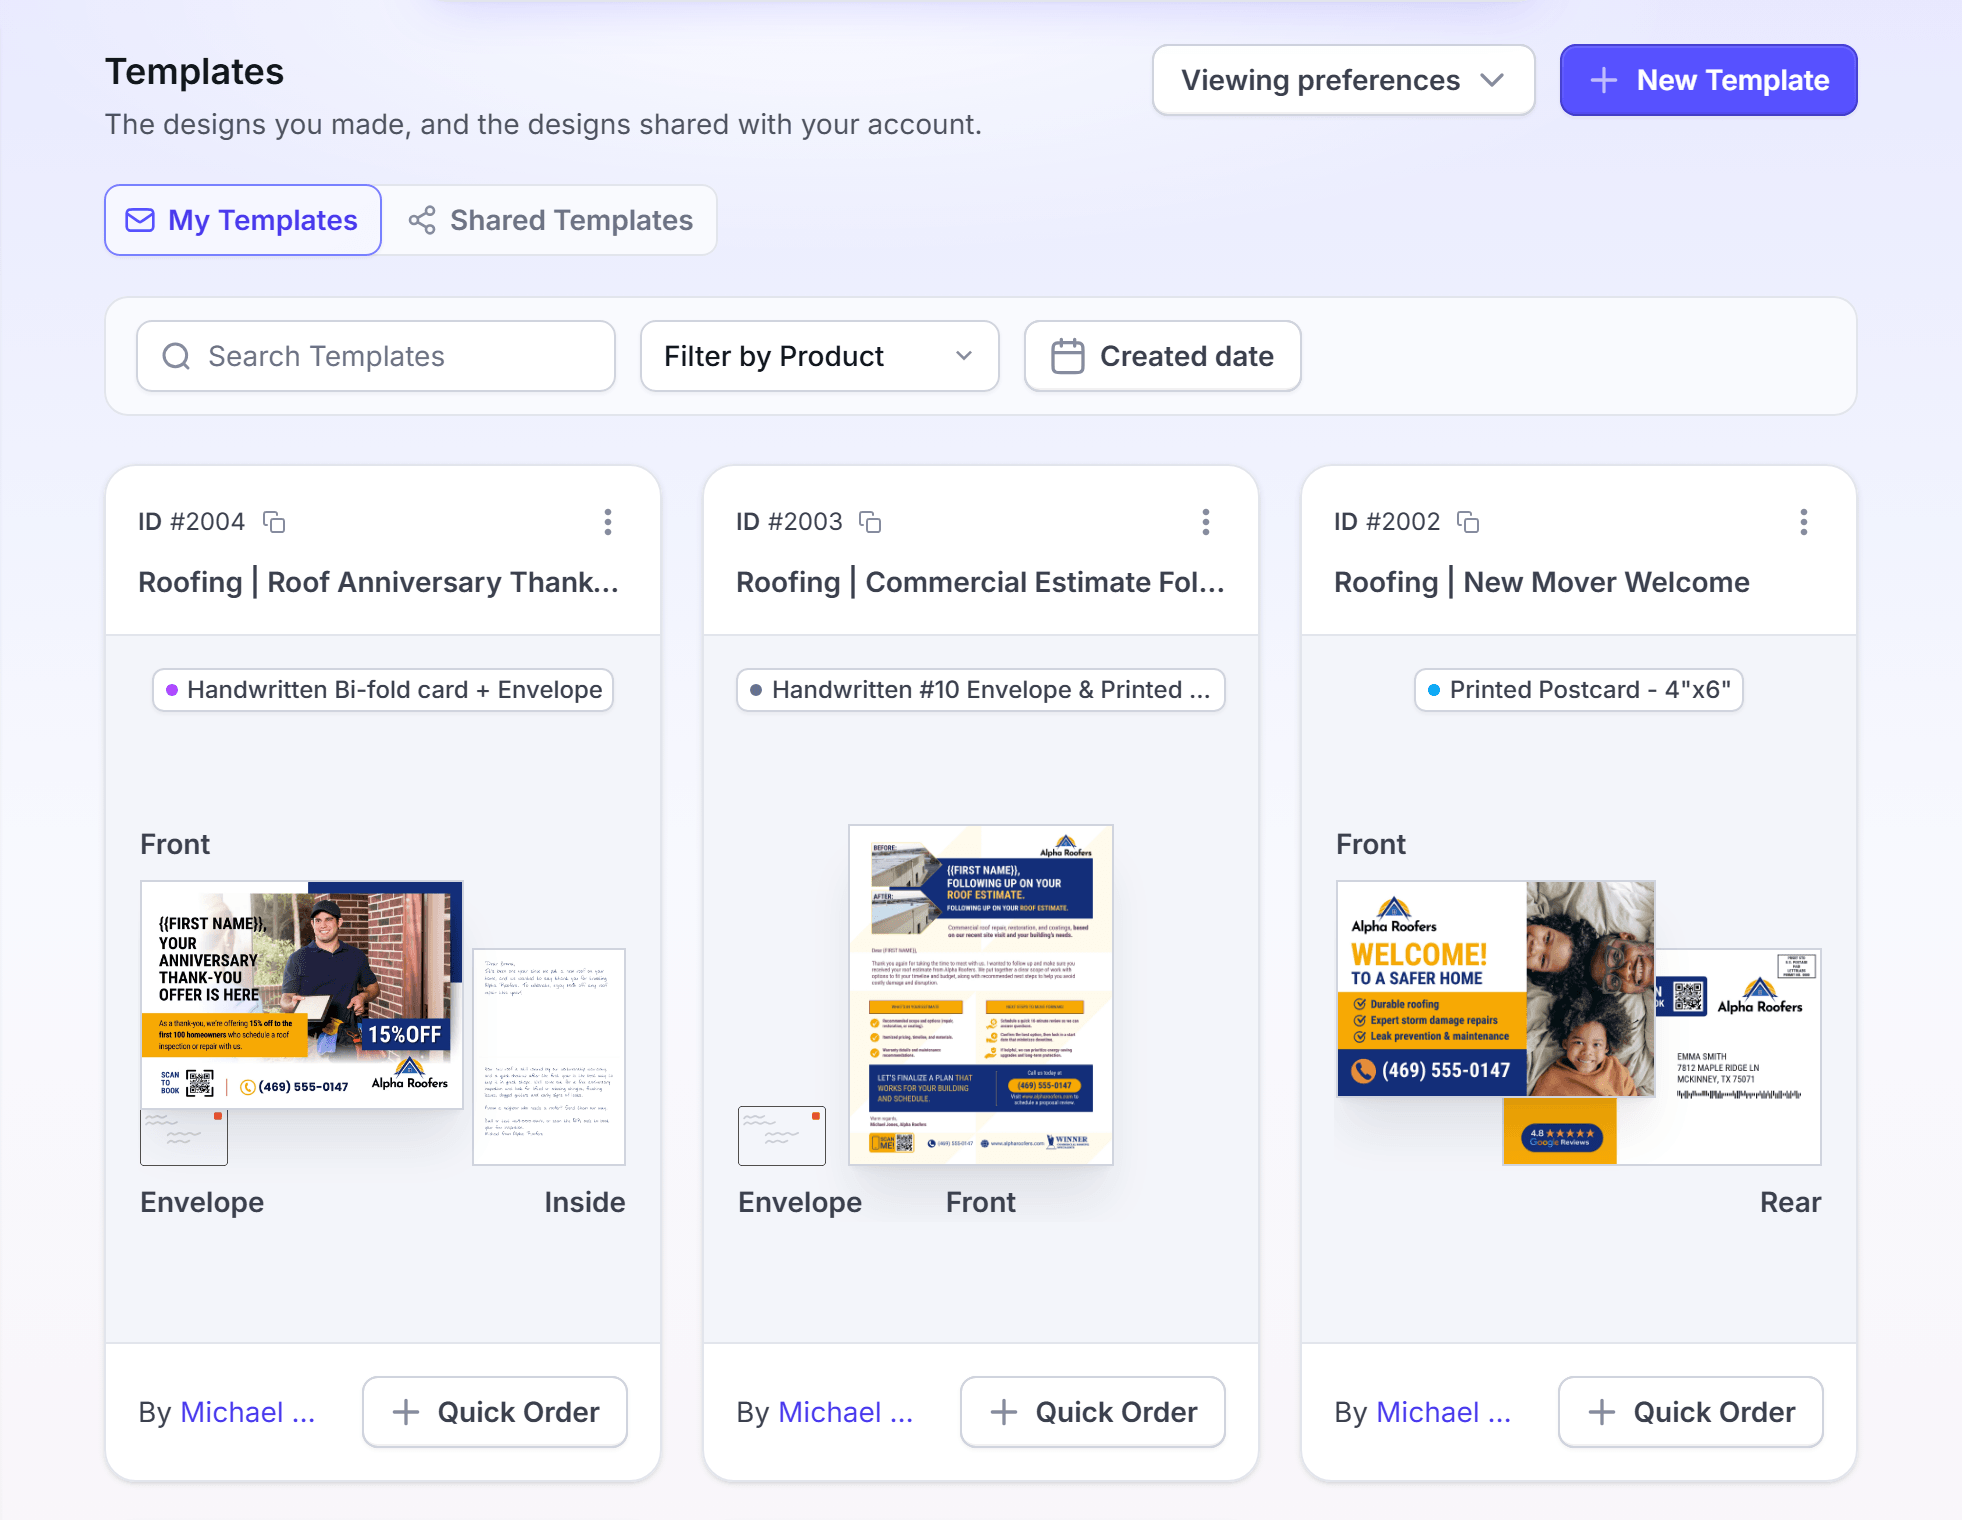
In the left navigation, click Creative > Templates. The My Templates tab opens.
Click New Template. The Create Template dialog opens.
In Template Name, enter Spring tune-up thank you. A name can have 100 characters at most.
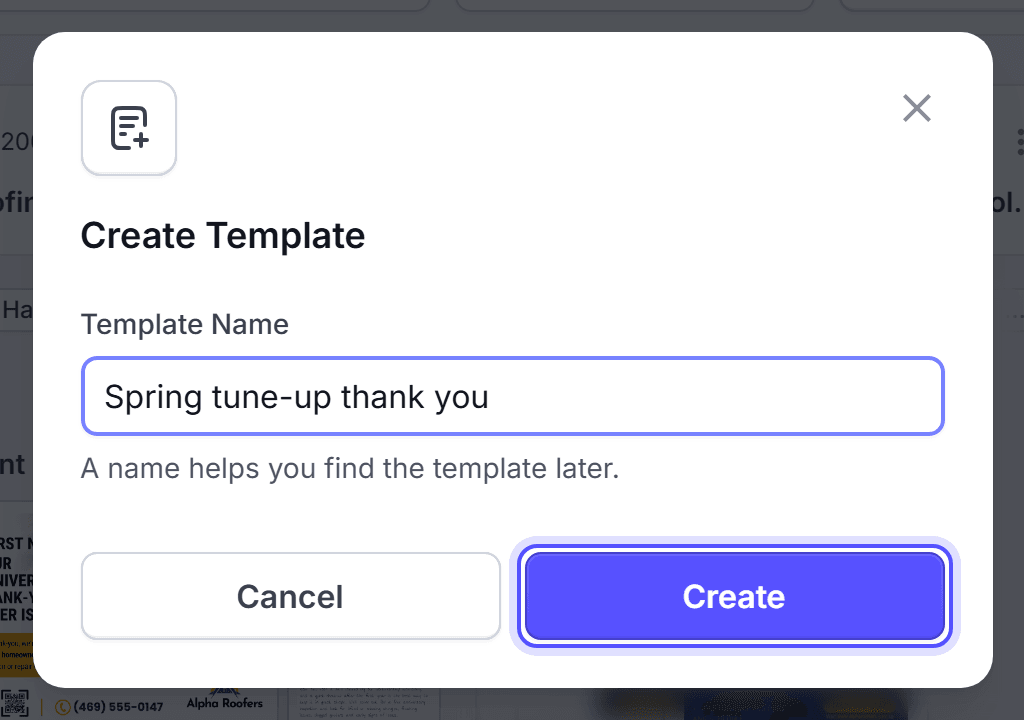
Click Create. The template page opens at the Product step.
Under Select format, in the Handwritten Mail group, click Handwritten Flat Card + Envelope. The details at the right show the size, the text length, the envelope and the stamp.
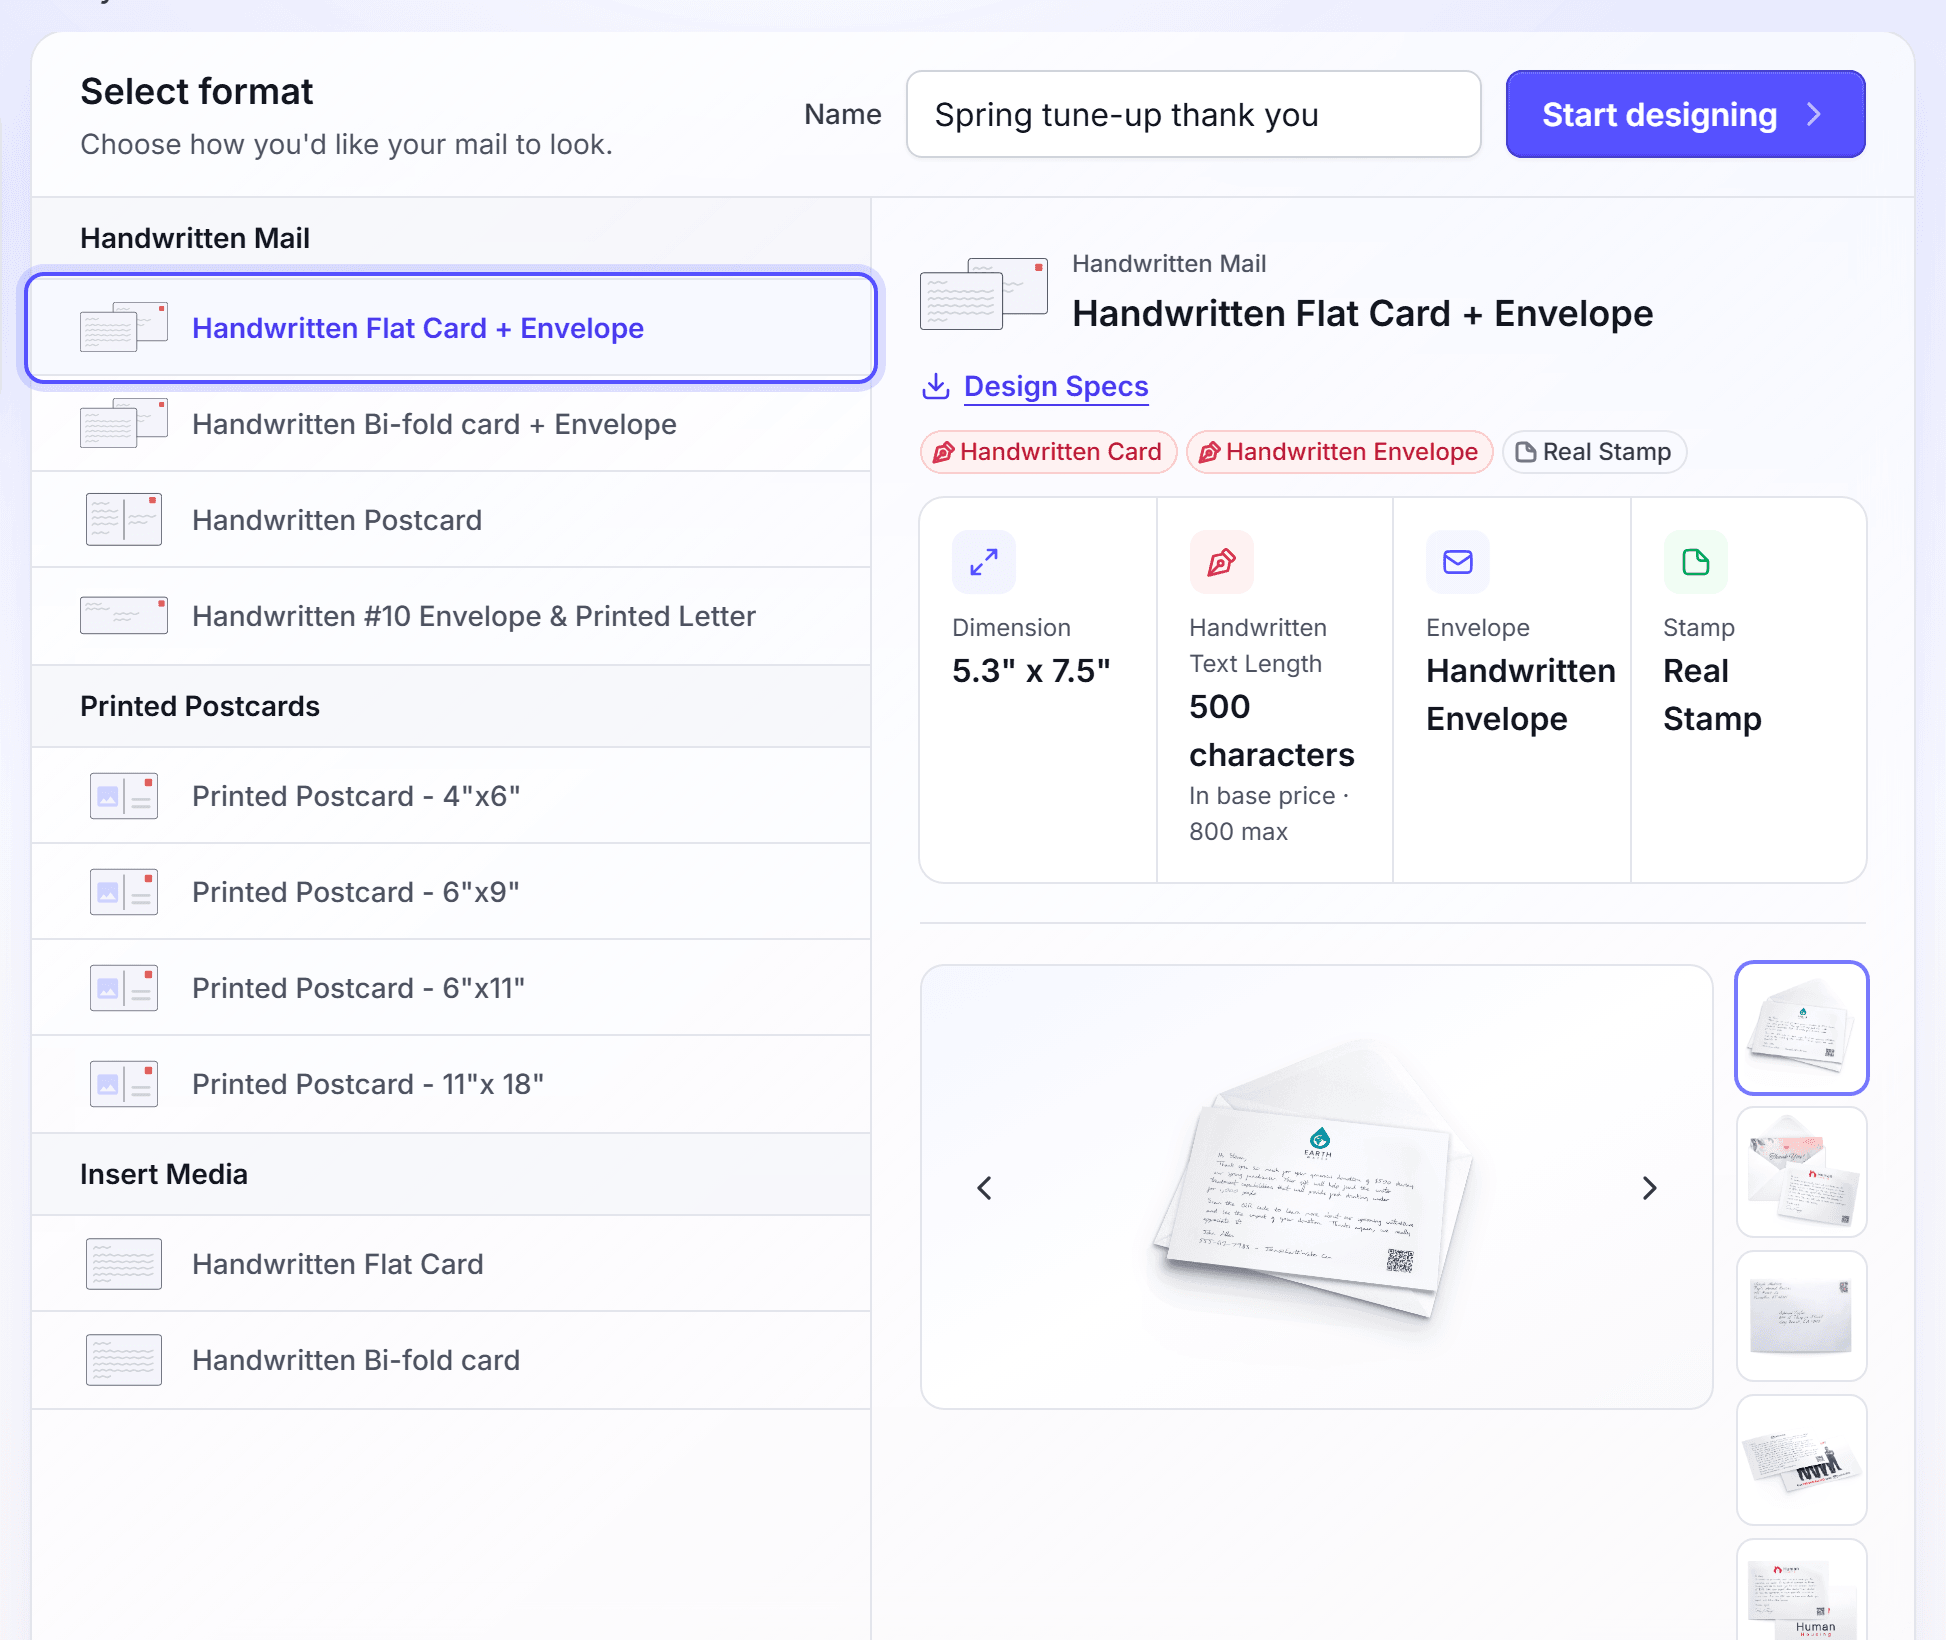
Click Start designing. The Design step opens with the design editor.
The name helps you find the template later. Your customers do not see it. The product sets the card size, the text length and the price. The flat card is 5.3" x 7.5". Its price includes up to 500 handwritten characters, and the card holds 800 characters at most.
You're done when the design editor opens. Nothing is charged for a template.
Design the card
Do this on the Design step, after you pick the product.
On the card, click the handwritten text block, and delete the default text.
Enter your message, such as Thank you for choosing us for your spring tune-up.
In the dock at the left of the editor, click Handwriting.
Under Handwriting Style, open the font list, and select a font.
In the dock, click Format, and find Card Logo. The logo is on by default. To hide it, click Remove Logo.
In the page strip under the card, click Envelope. The Return Address panel opens.
Open Choose a saved address, and select your address. To add an address, click the Add New icon.
In the page strip, click Front to go back to the card.
The handwritten text is written by a robot pen in real ink. The card logo is the logo of your account. You set it in Company profile. To show a hidden logo again, click Add Logo.
To add your own images, click Images in the dock, then drag an image onto the card. To start from a premade design, click Card Designs. To print each recipient's name, use merge fields. Personalization gives the steps.
You're done when the card shows your message, your logo and your return address. The design saves as you work.
Fix design-check errors
Do this when Next stays disabled on the Design step. LettrLabs checks the design before it can print. Next and Change Format sit at the top right of the Design step.
Read each error in the Design Validation card. Each error shows under the side of the card that has it.
Fix the design as the error text says.
When the Design Validation card reads "All good", click Next. The Review step opens.
The FAQ at the end of this page lists each error text with its fix. To pick another product, click Change Format.
You're done when the Design Validation card shows no errors and Next is enabled.
Approve the proof and save
Do this on the Review step. The proof is a picture of the card as LettrLabs prints it.
Under Approvals, wait for the proof to load.
Click the proof to open it at full size. Check the text, the logo and the envelope.
Select I've reviewed my proofs and confirm they meet my standards.
Click Save. LettrLabs saves the template and opens Creative > Templates.
Save stays disabled until you approve the proof. When the save fails, the message "The template did not save." shows. Your design is kept, so click Save again.
You're done when the template shows on the My Templates tab. You can pick it in Send Mail at the Creative step. A template costs nothing until a campaign mails it.
Manage your templates
Do this to change, copy or remove a template, or to see where it is used.
In the left navigation, click Creative > Templates.
On the My Templates tab, search for the template, or filter by product or Created date.
Open the menu of the template card.
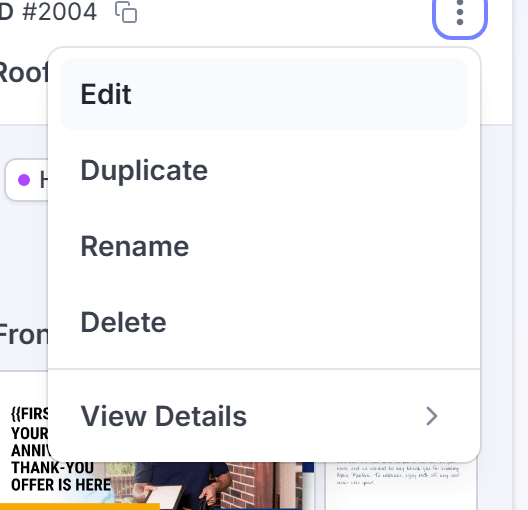
Click Edit, Duplicate, Rename, Delete or View Details.
The menu items do these things:
| Item | What it does |
|---|---|
| Edit | Opens the template in the design editor. |
| Duplicate | Makes a copy of the template. |
| Rename | Changes the name of the template. |
| Delete | Removes the template after you confirm. |
| View Details | Shows the Overview, Orders, Automation and Versions tabs of the template. |
To mail a template, click Quick Order on its card. Send Mail opens with the template on the Design step. Quick Order is disabled for an incomplete design.
You're done when the template list shows your change. An edit to a template changes the cards that mail after it.
Use a template shared with you
Do this when your organization, a partner program or LettrLabs shares a ready-made template with you.
In the left navigation, click Creative > Templates.
Click the Shared Templates tab.
Search, or filter by product, source or strategy.
On the template card, click Use Template. The Configure template page opens.
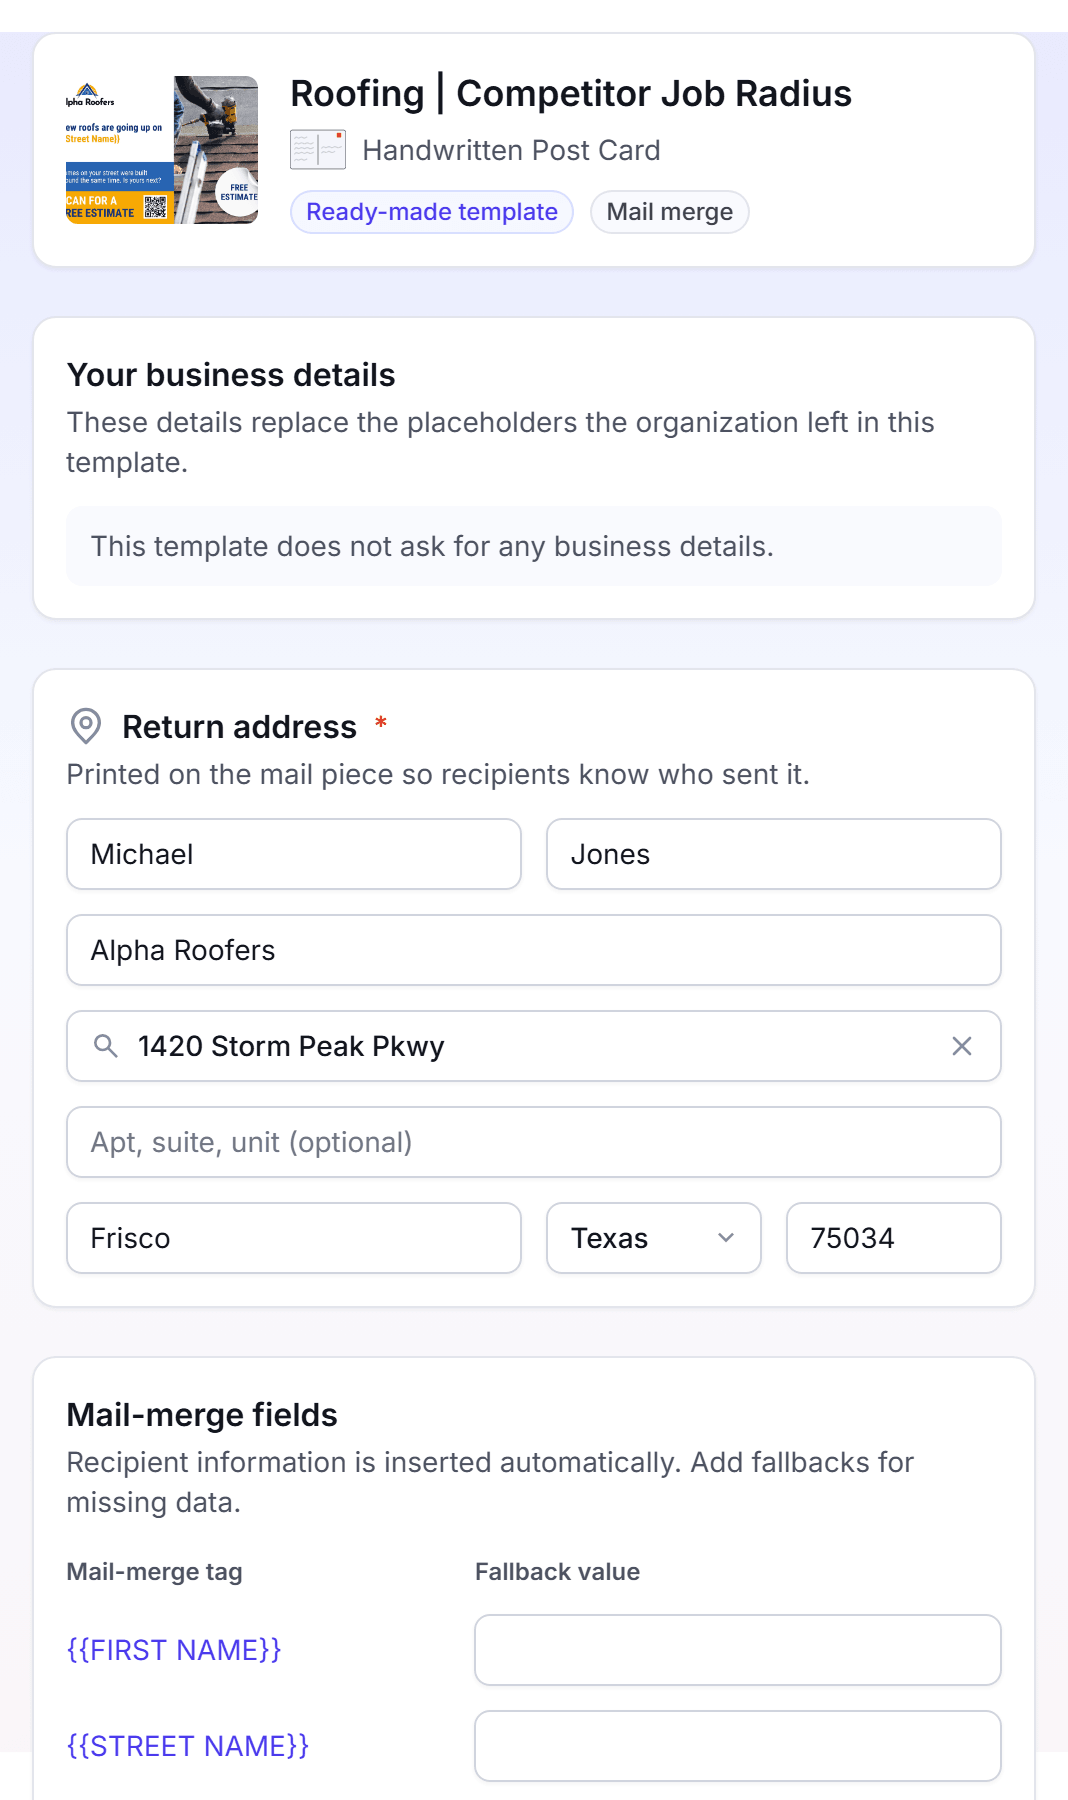
Fill in Your business details, Offer for this mailing and Return address.
In Mail-merge fields, enter a Fallback value for each field.
Choose an image for each image slot that the template asks for.
Click Continue. Then pick the recipients, check the proof and go to checkout.
The layout of a shared template is locked. You change only the fields that the owner opened. An order cannot start until each image slot has an image. Brand assets explains the image slots.
You're done when the order reaches checkout. Checkout charges the order, and the cards mail on the send date.
Organize templates with use-case tags
Do this to sort your templates by your own use cases, such as "Spring tune-up". A use case sits under a LettrLabs strategy.
In the left navigation, click Settings, then click Tags.
Click Create new, then click New use case. The Create a use case dialog opens.
In Strategy, select the strategy that the use case belongs to.
In Use case name, enter a name.
Click Create use case.
To rename a use case, click Rename in its row. Every template that carries it shows the new name. To delete it, click Delete in its row. You can rename or delete only the use cases that you own.
You're done when the message "Use case created." shows. A deleted use case leaves its templates. The templates stay usable.
FAQ
Related
Send your first campaign
Mail your new template to a list.
Products and print specs
Compare cards, postcards and letters before you pick one.
Personalization
Print each recipient's name and values with merge fields.
Steps checked 2026-11-16.