Send people to LettrLabs from thousands of apps with Zapier.
Overview
Zapier sends records to LettrLabs from thousands of apps, one row at a time. Zapier connects with a key that you create in LettrLabs. You do not sign in to LettrLabs from Zapier. LettrLabs does not read Zapier each day. Zapier sends each record when your Zap runs.
You can use Zapier to:
- Mail a person when a tool with no native integration records a new customer or a job.
- Send the records of a form, a spreadsheet or a CRM to LettrLabs.
- Choose the design and the fields that each Zap row sends.
Connect Zapier
Connect Zapier once, before you build your first Zap. The steps are in two products. Do the first part in LettrLabs, then the rest in Zapier.
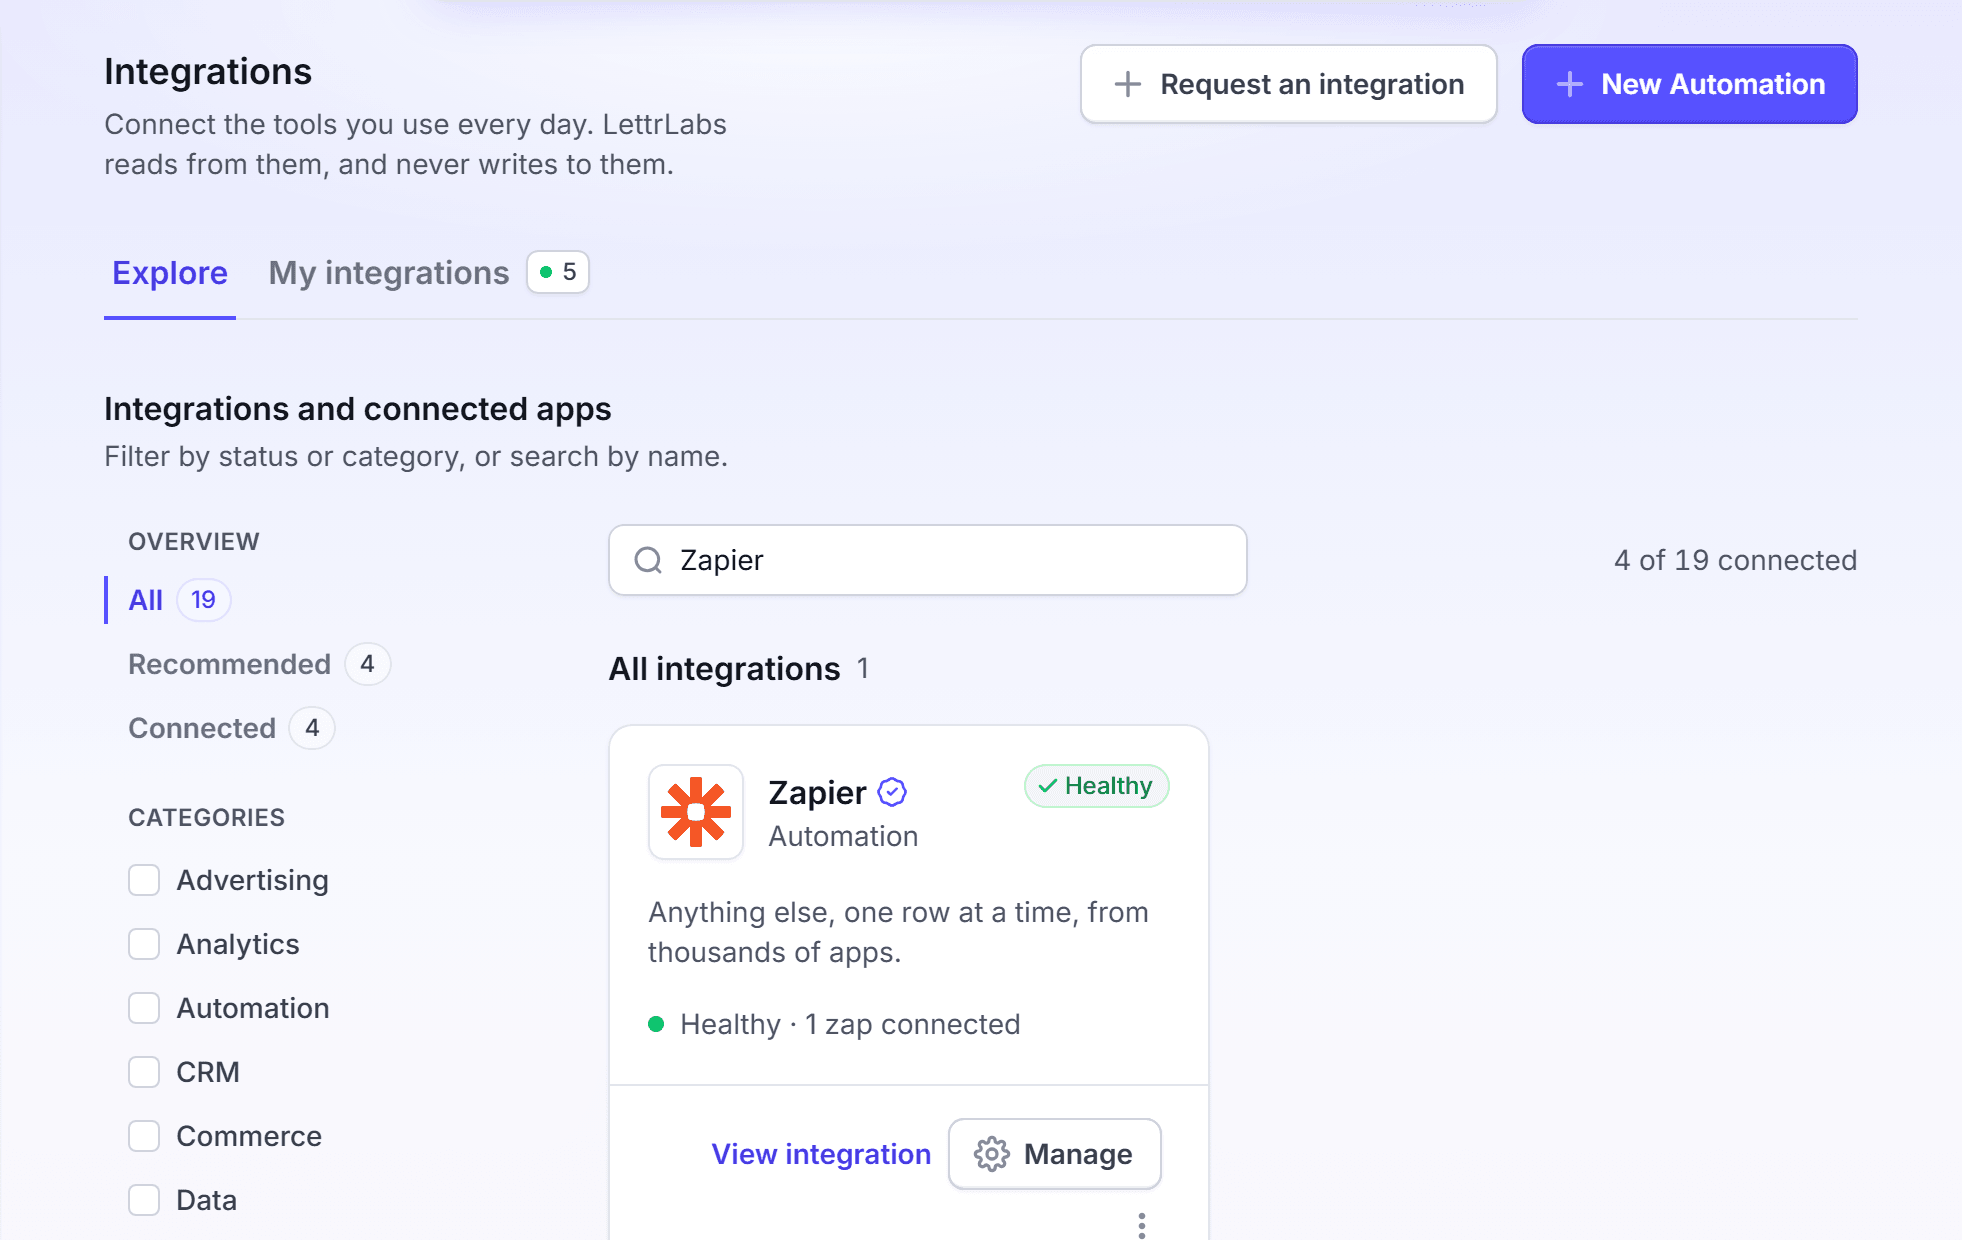
Click Integrations > Integrations. The Explore tab opens.
On the Zapier card, click Setup. The Connect Zapier window opens.
Under Create an API key, keep the Key name "Zapier", or enter a different name.
Click Create key. The key shows in the window.
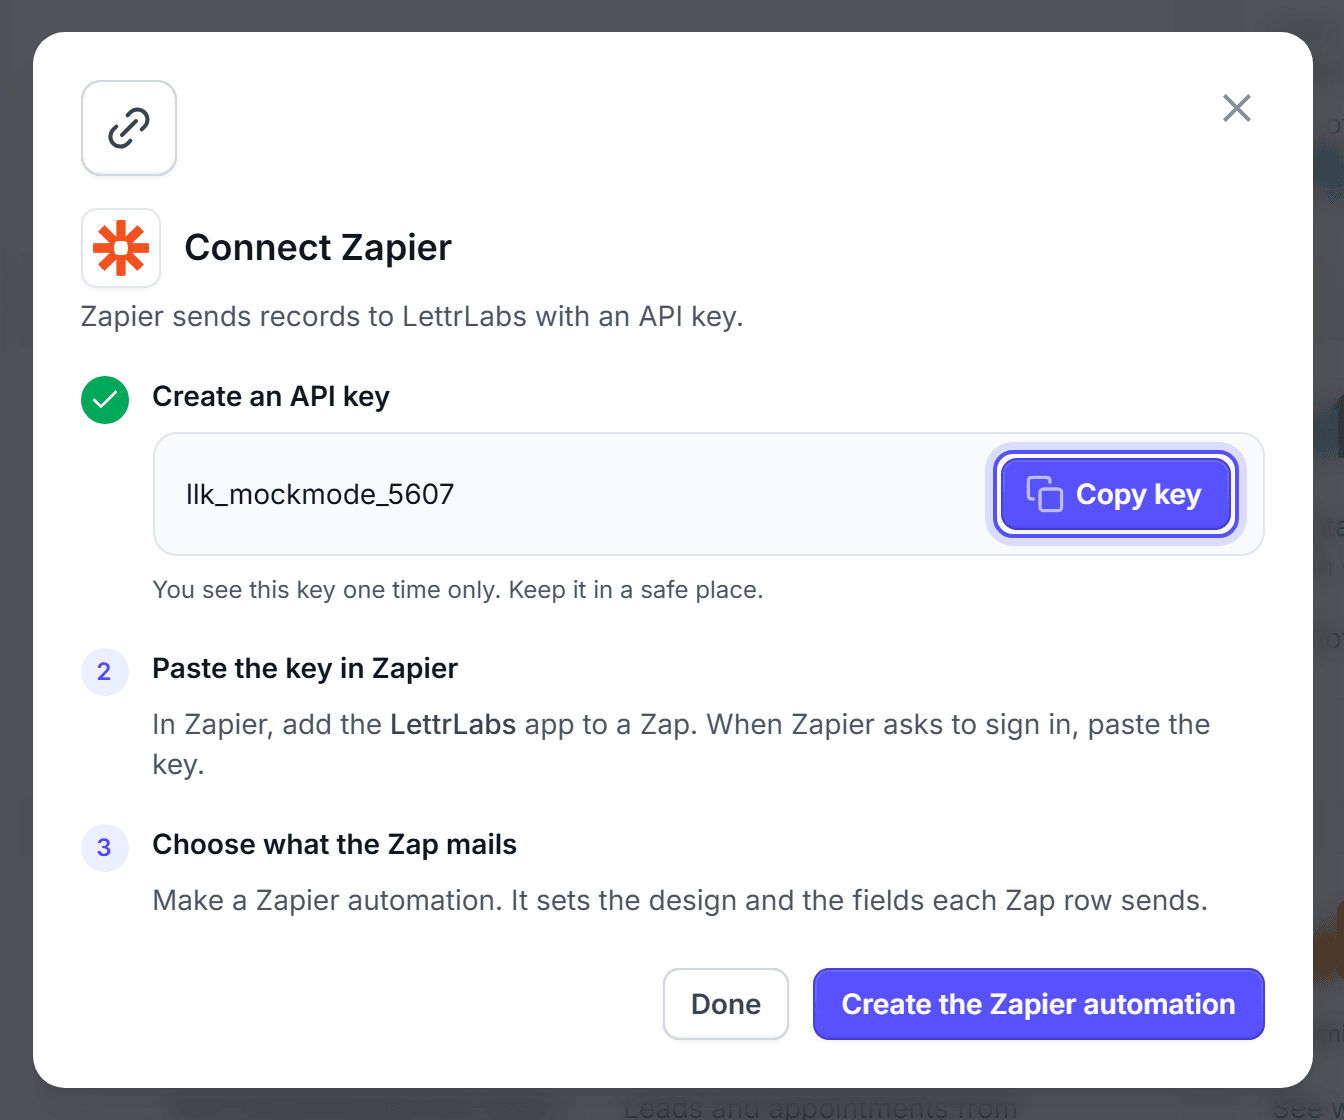
Click Copy key. The button changes to Copied.
In Zapier, add the LettrLabs app to a Zap.
When Zapier asks you to sign in to LettrLabs, paste the key.
In LettrLabs, click Create the Zapier automation. The new automation page opens.
You're done when your Zap accepts the key. Then pick Zapier as the source on the new automation page, and make the Zapier automation. It sets the design and the fields that each Zap row sends. See CRM and store customers.
If you click Done before you copy the key, the key is lost. Create a new key with the same steps.
Connect another Zap
Each Zap can use its own key. A separate key lets you stop one Zap and keep the others.
Click Integrations > Integrations.
On the Zapier card, open the menu, and click Add zap. The Connect Zapier window opens.
Do the steps in Connect Zapier from the Key name step. Give the key the name of the Zap.
You're done when Integrations > API keys lists the new key.
Stop a Zap from sending records
To stop Zapier, disable or delete its key. A Zapier row on My integrations has no Delete action. Its menu has Manage API keys.
Click Integrations > API keys. Or, on the Zapier card, click Manage.
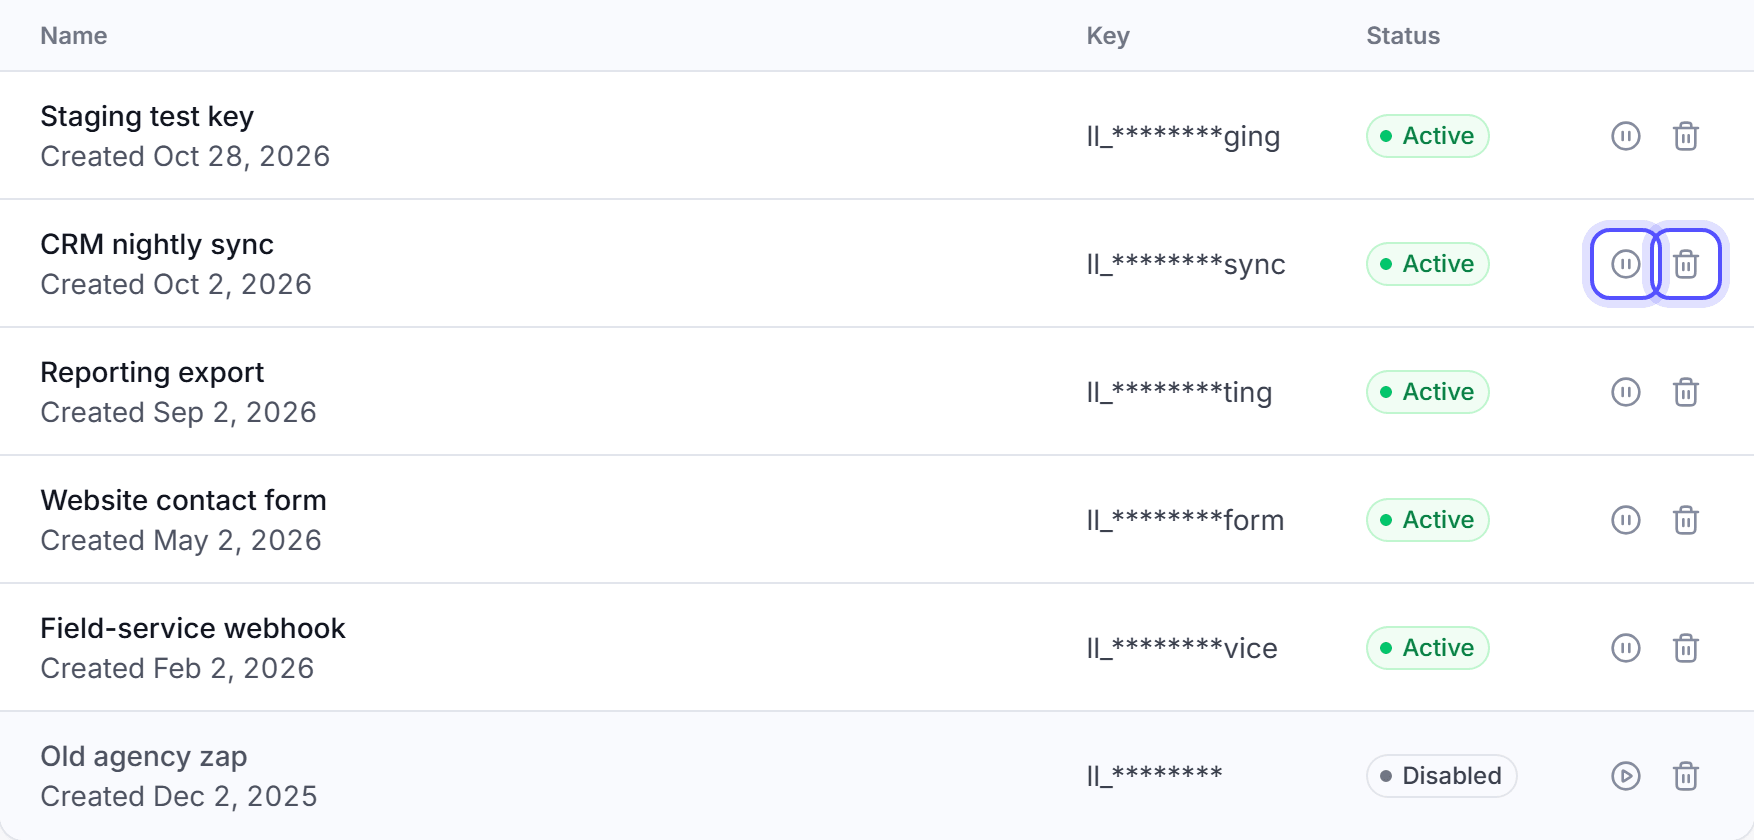
Find the key of the Zap in All keys.
To pause the key, click Disable key on its row. In the dialog, click Disable key. To remove the key, click Delete key on its row.
If you delete, type delete in the confirm field, then click Delete key.
You're done when the key reads Disabled, or when All keys no longer lists it. A disabled key works again when you enable it. A deleted key does not come back.
FAQ
Related
Webhooks
Send records from your own systems.
How integrations work
Keep your connections healthy.
CRM and store customers
Build the automation that mails each record.
Steps checked 2026-11-10.