Brand assets
Upload the logos, images and fonts that your templates use.
Overview
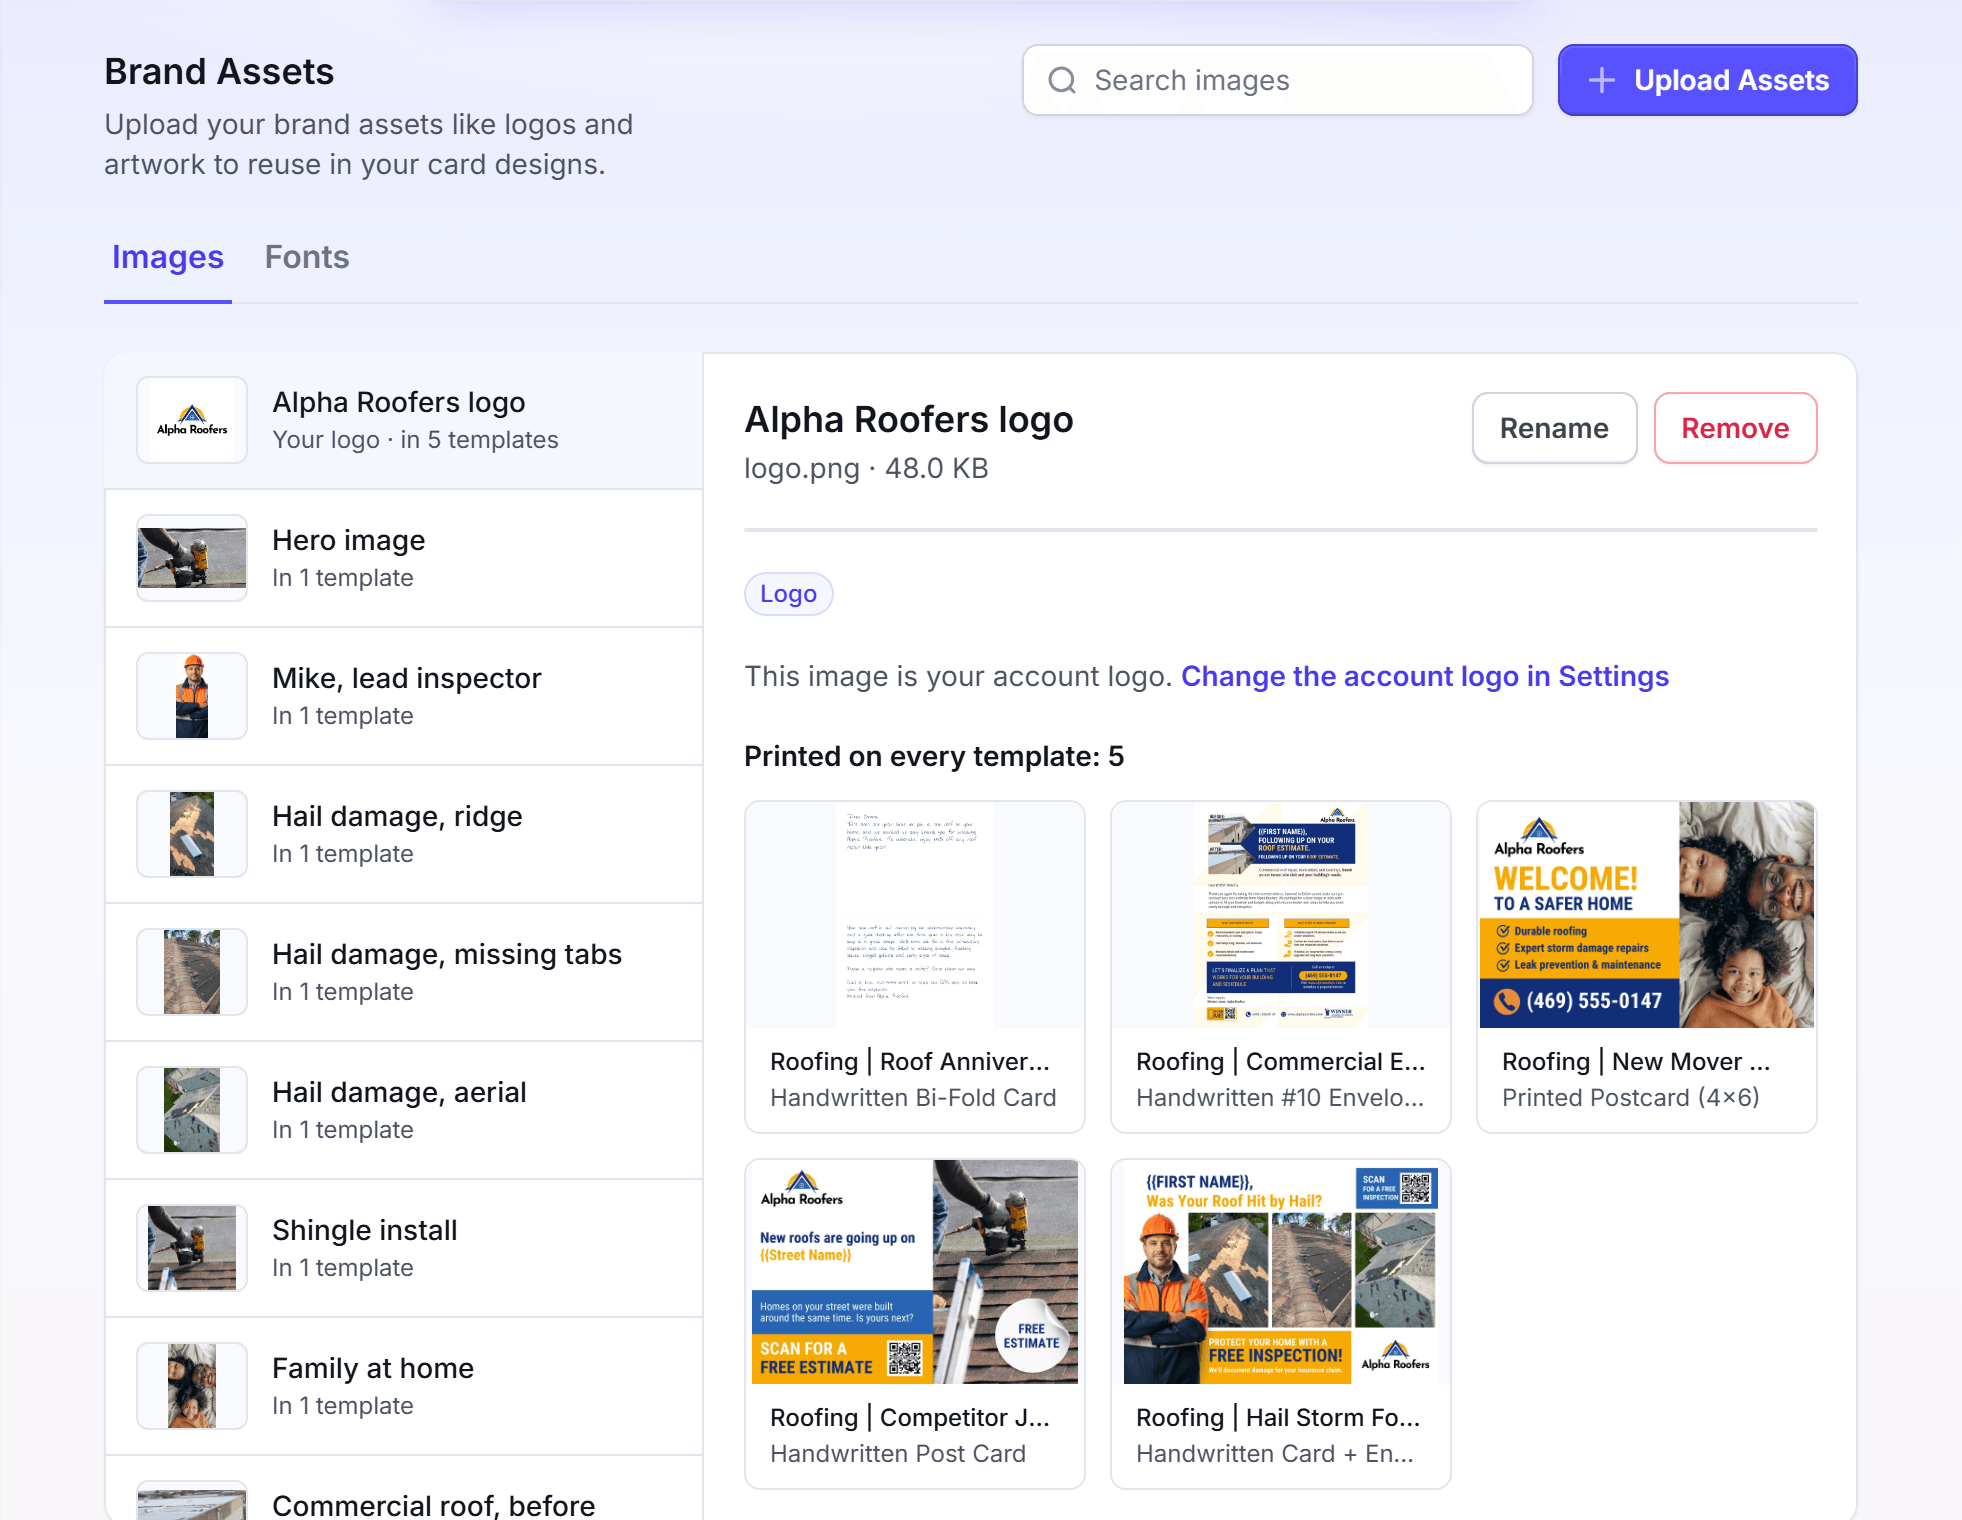
Brand Assets is the library of your logos, images and fonts. You upload a file one time, and you use it again in each card design. The page has two tabs: Images and Fonts.
You can use Brand Assets to:
- Upload your logos and artwork, and give each one a name.
- See which templates print each image.
- Give a shared template the images that it asks for.
- Upload your brand fonts, and preview each style.
Upload brand images
Do this before you design your first card, or when you get new artwork.
In the left navigation, click Creative > Brand Assets. The Images tab opens.
Click Upload Assets.
Select one or more image files. Use PNG, JPEG or WebP files. Each file can be 25 MB at most.
In the Name your asset dialog, enter a name for each image. LettrLabs fills in the file name first. A name can have 255 characters at most.
Click Upload.
You're done when the image shows in the list on the left of the Images tab. An upload costs nothing.
To use an image on a card, open the design editor and click Images in the dock. Your uploads show under Brand Images. Templates gives the editor steps.
Find, rename or remove an image
Do this to keep your library tidy, or to see where an image prints.
In the left navigation, click Creative > Brand Assets.
In Search images, type a part of the image name.
In the list, click the image. The image, its name and its file size show on the right.
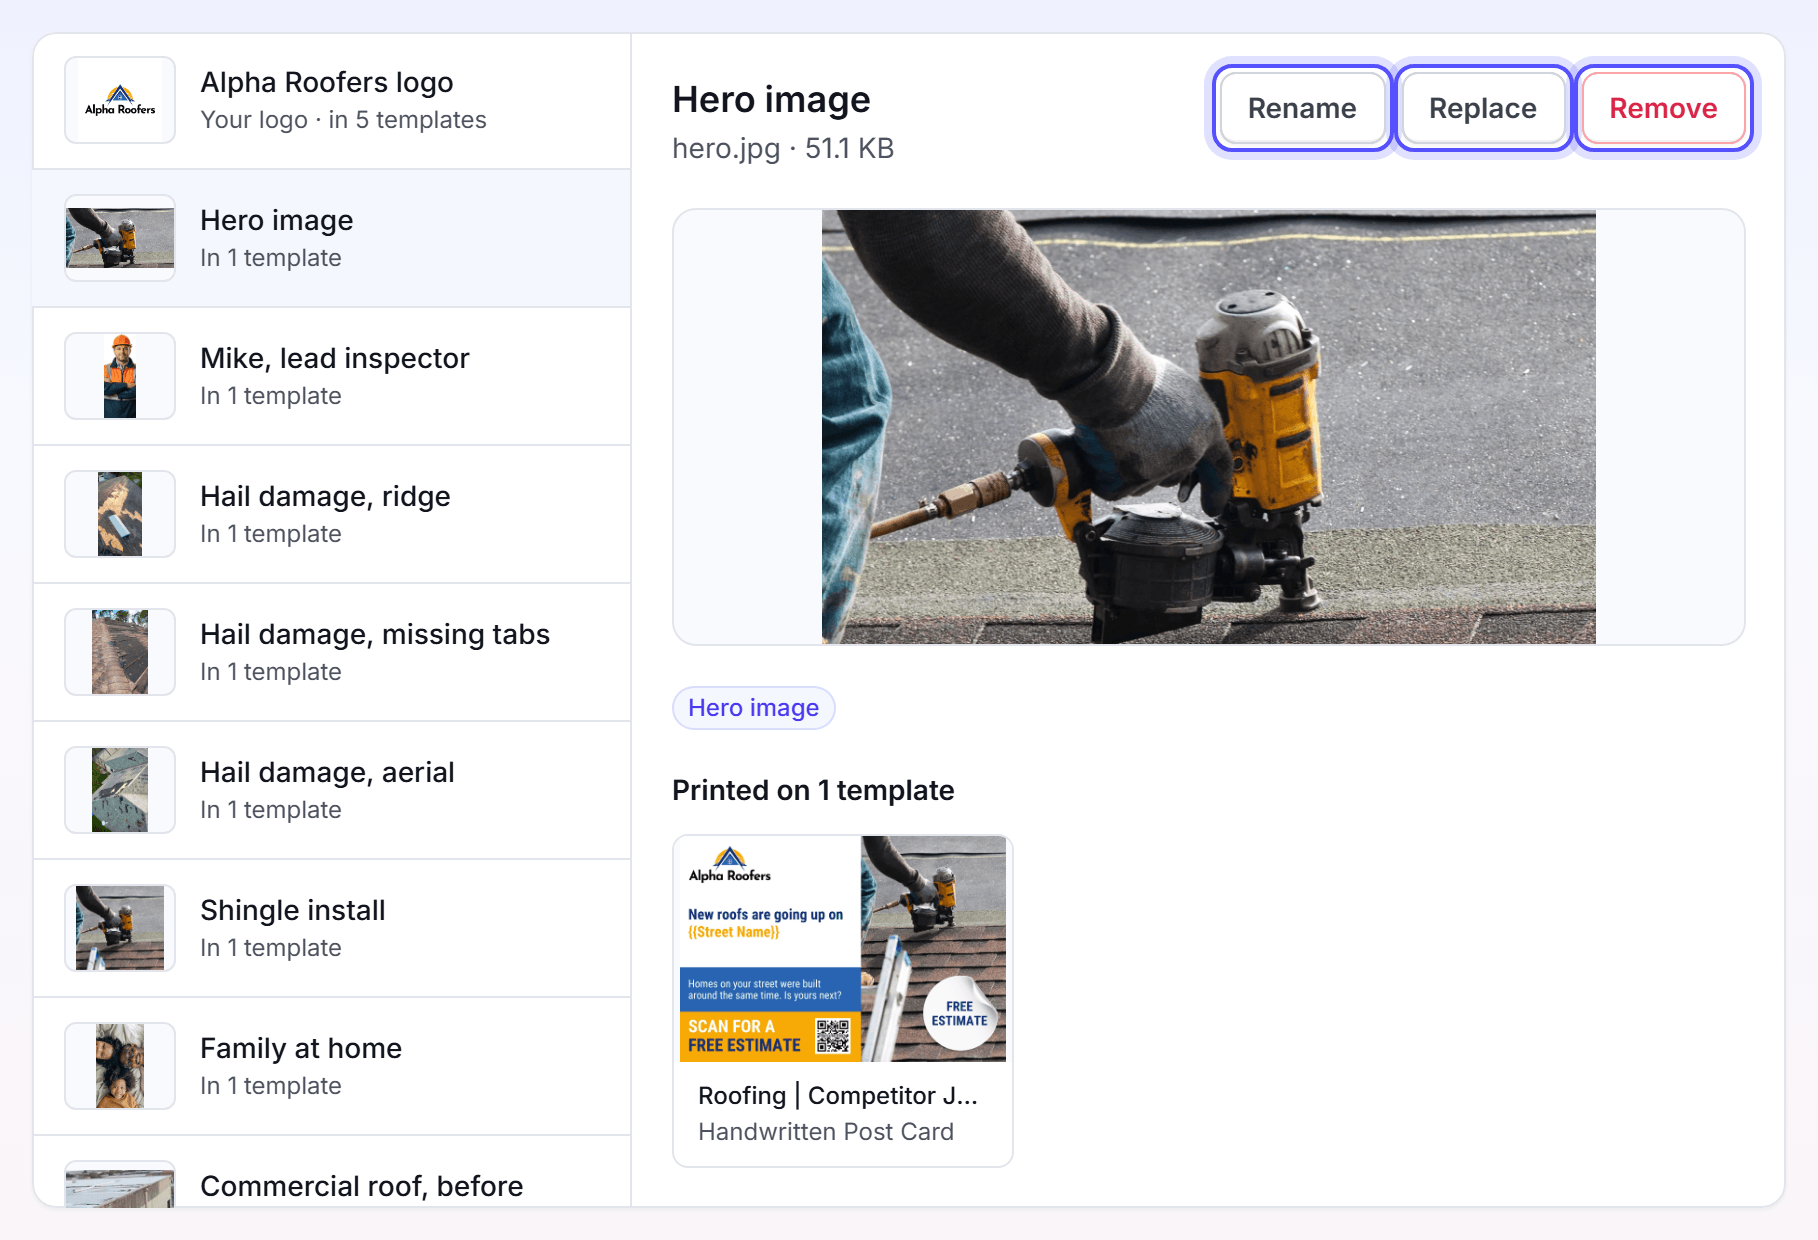
To change the name, click Rename, enter the new name, and click Save.
To delete the image, click Remove. In the Remove asset dialog, click Remove.
Under the image, the detail panel tells you where the image prints. For example, it shows "Printed on 3 templates" or "No template prints this image yet." Click a template thumbnail to see the template at full size.
You're done when the message "Image renamed." or "Asset removed." shows.
Your account logo also shows in this list, with the Logo badge. You change the logo in Company profile, not here. Click Change the account logo in Settings to go there.
Give a shared template its images
Do this when a template that your organization or a partner shares asks for an image. An order from that template cannot start until each image it asks for is set.
In the left navigation, click Creative > Brand Assets.
At the top of the list, click an item with the Needs an image badge.
Click Choose an image.
In the dialog, click an image from your library.
Click Use this image.
To change the image later, select the image in the list, and click Replace. To take the image off a template, click the close mark on its name badge.
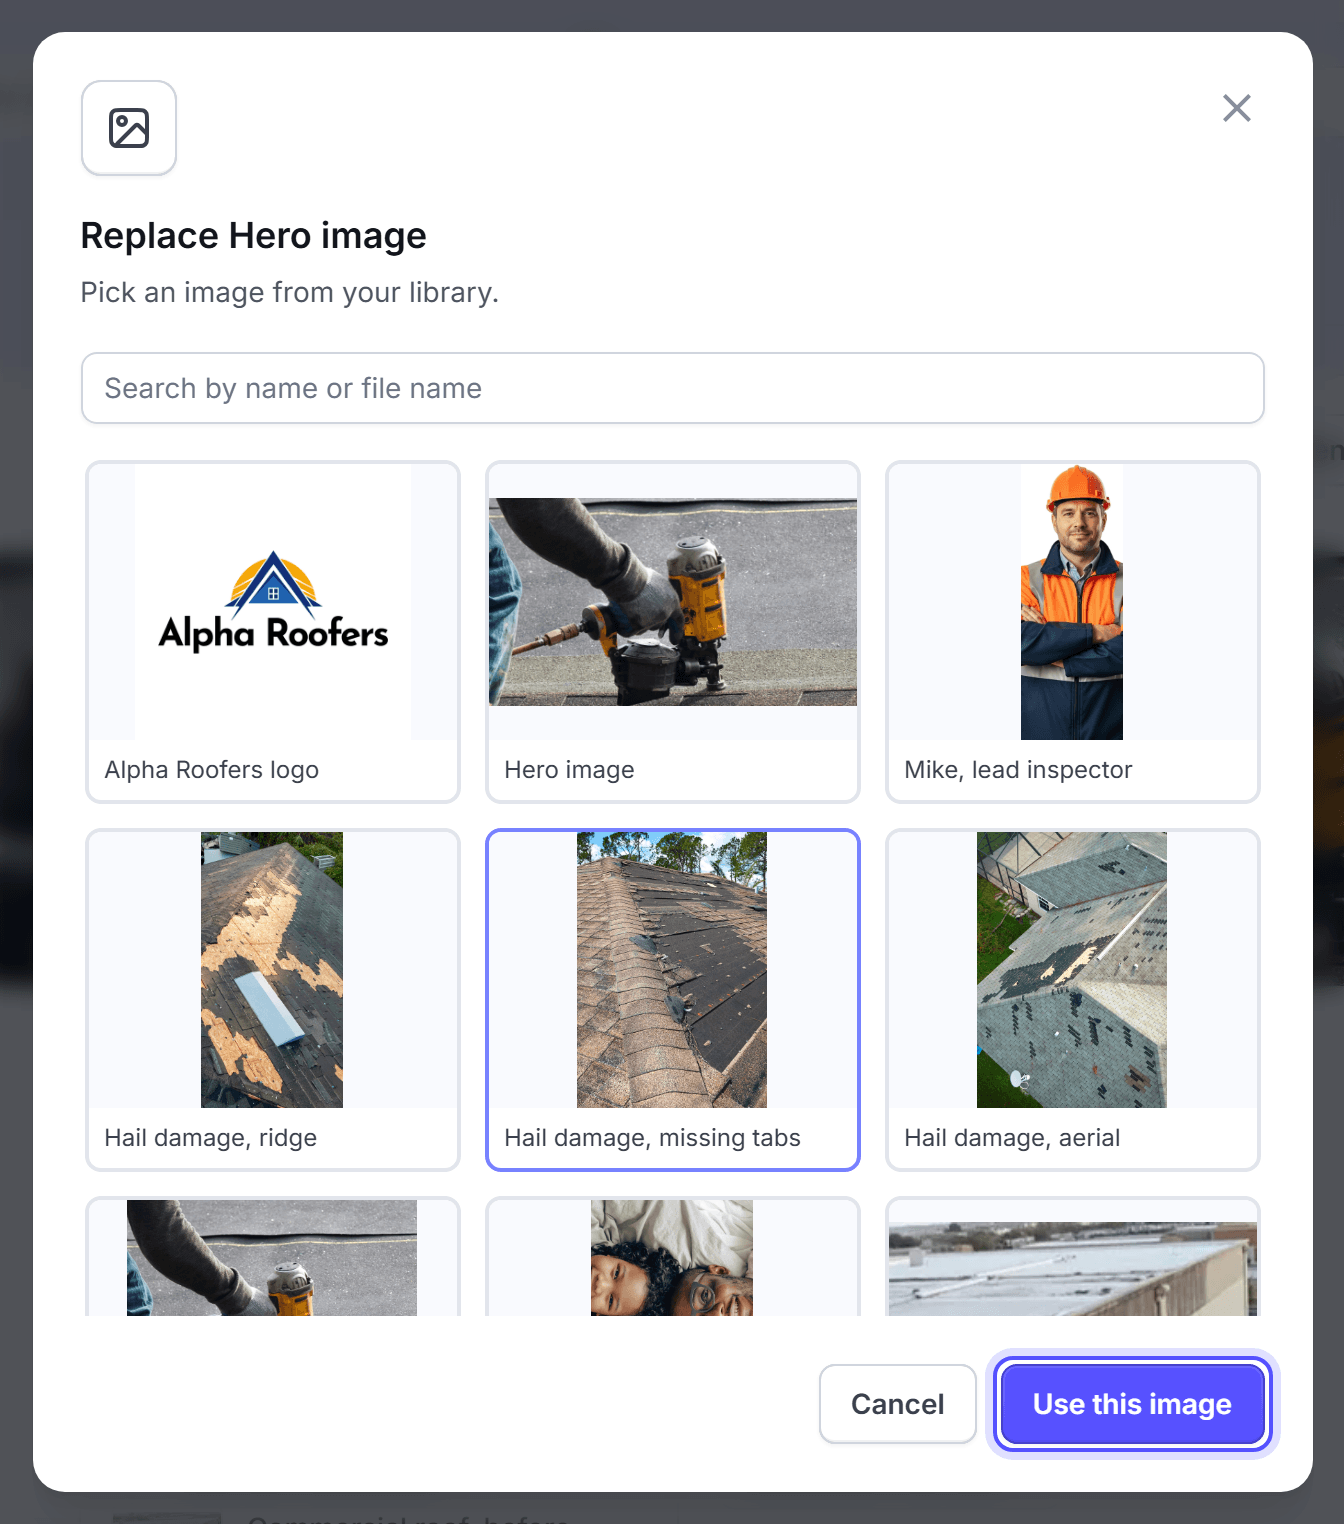
You're done when the item no longer shows Needs an image, and the message "Image updated." shows.
Upload a font
Do this to print your own brand font in the text of a card.
In the left navigation, click Creative > Brand Assets.
Click the Fonts tab.
Click Add Custom Font.
Select a font file. Use a .ttf, .otf, .woff or .woff2 file.
In the dialog, click Upload.
You're done when the font shows under Your fonts, with one line for each style. Type in Type here to preview text to see your own words in each style.
Your fonts show in the font list of the design editor for printed text. The handwritten text uses the handwriting styles of LettrLabs.
To delete a style, click the delete button at the end of its line. Then click Delete to confirm.
You can also add and delete brand fonts in the design editor. Click Brand in the dock. The Brand Fonts section lists your fonts and has Add Custom Font.
FAQ
Related
Templates
Use your images and fonts in a card design.
Company profile
Set the logo that prints on your cards.
Personalization
Change an image for each recipient.
Steps checked 2026-11-16.