Company profile
Set your company name, logo, phone and return address once, so every card prints your current details.
Overview
LettrLabs templates fill in your company details on each card: the company name, the logo, the website, the phone and the sign-off. You set these values one time in Settings > Account. Then each new card prints your current details.
You can use the company profile to:
- Set the details that print on your cards.
- Upload the logo that your templates print.
- Set the return address of your mail.
- Tell LettrLabs your industry and trade, so it shows the right plays.
Set your company profile before you send your first campaign. Only an admin of the account can save a change.
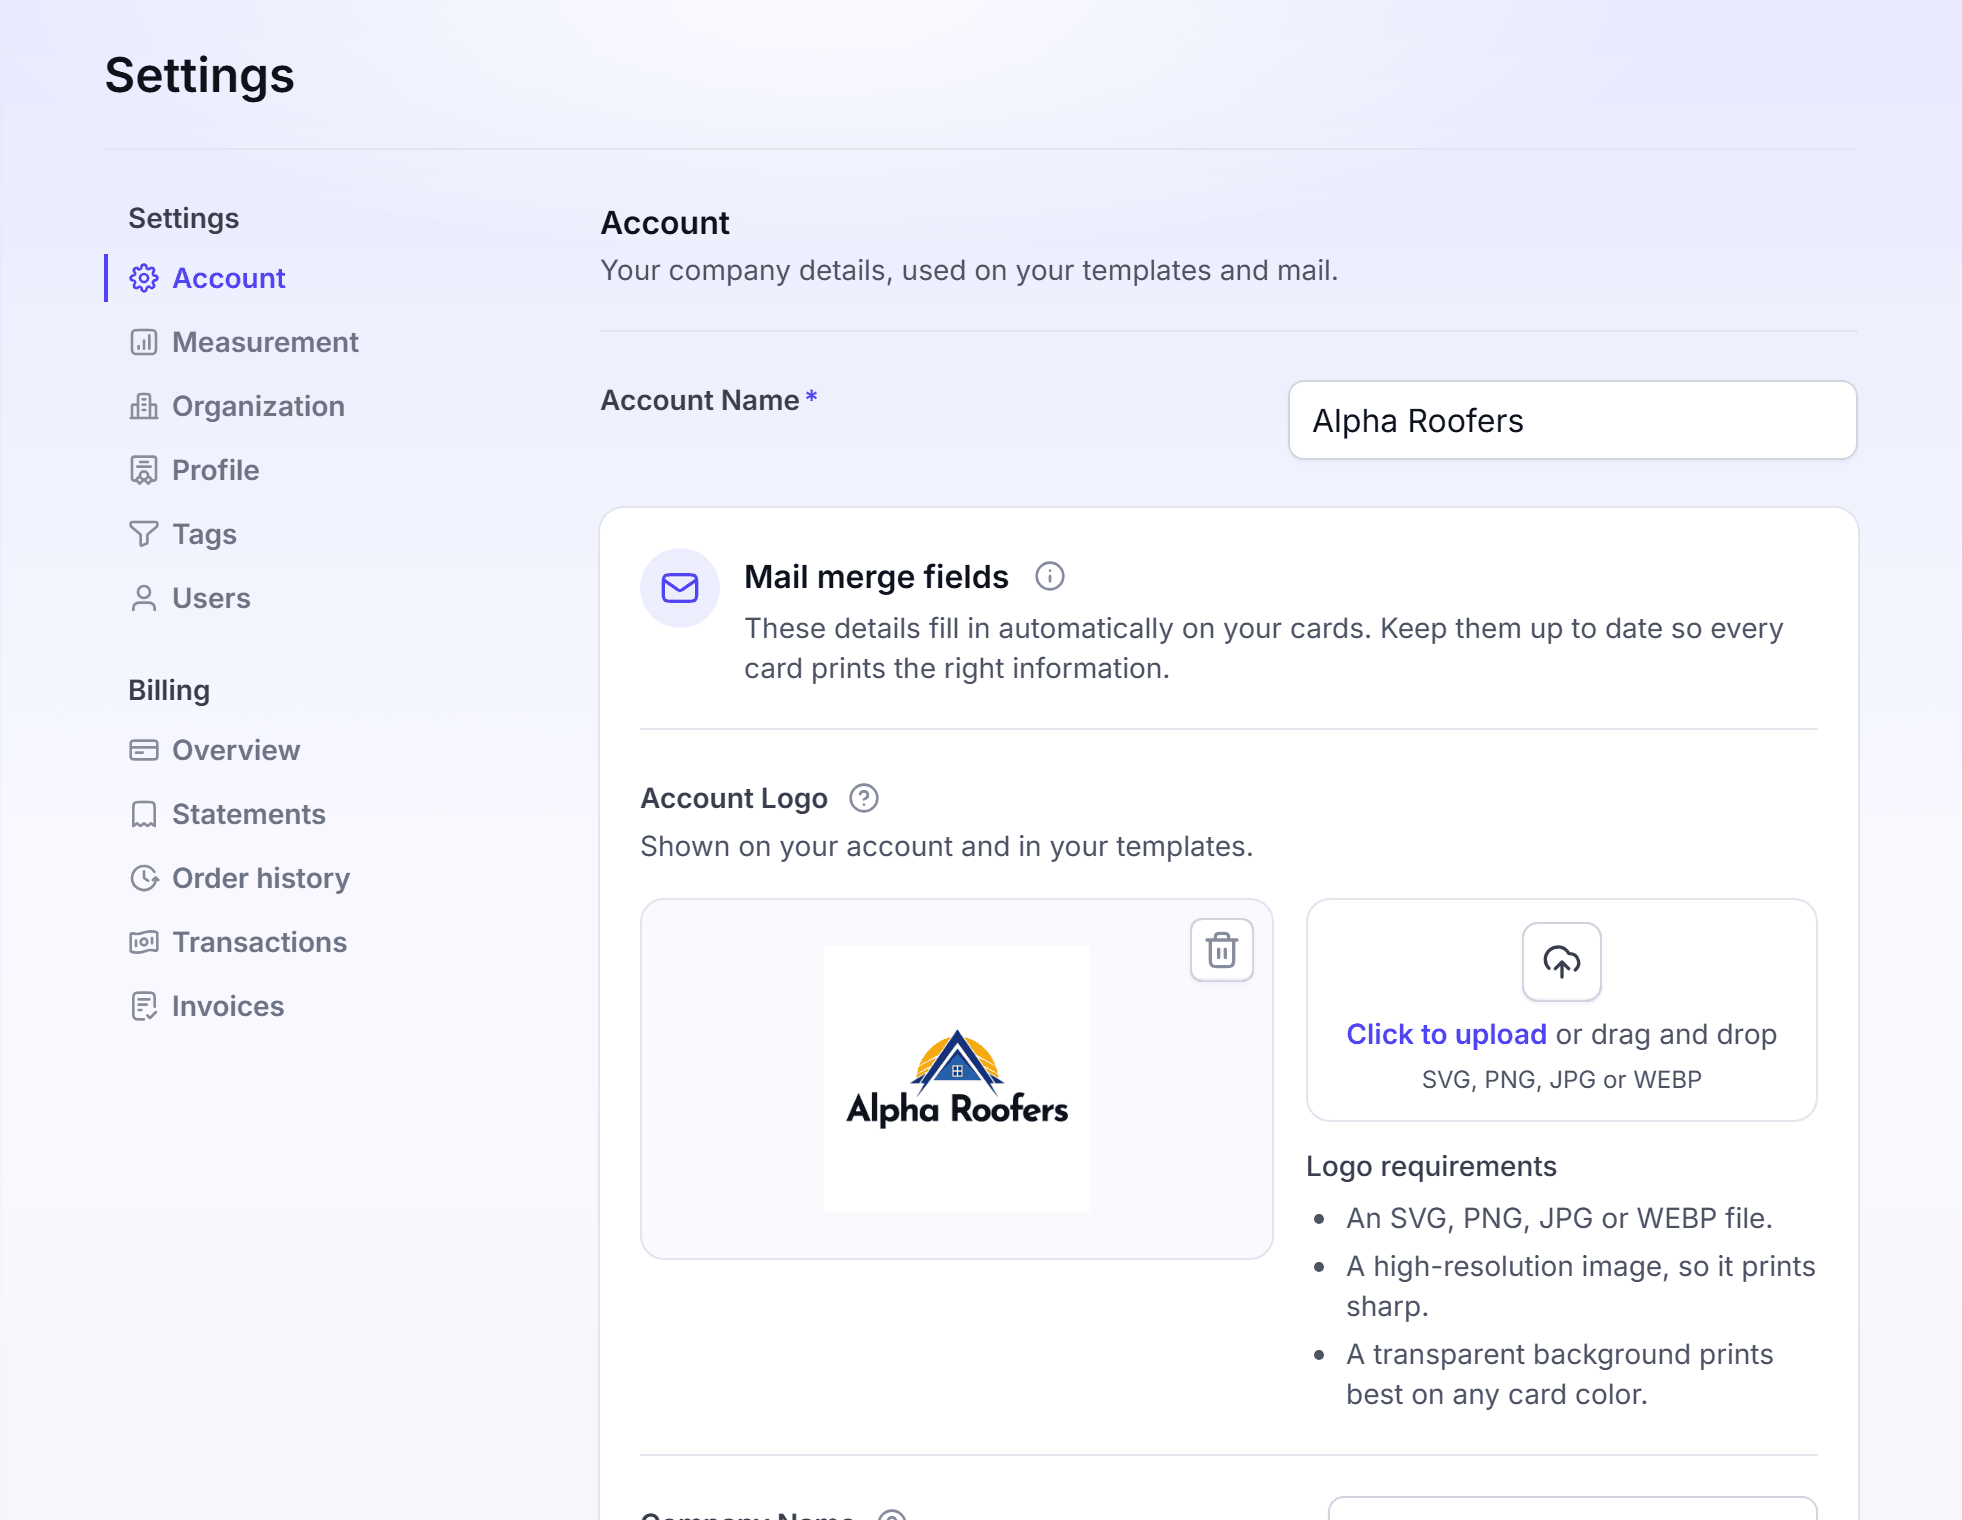
Set the details that print on your cards
Set these details before your first campaign, and again when your phone, website or sign-off changes.
Click Settings. The Account page opens.
In Account Name, enter the internal name of the account. This name does not print.
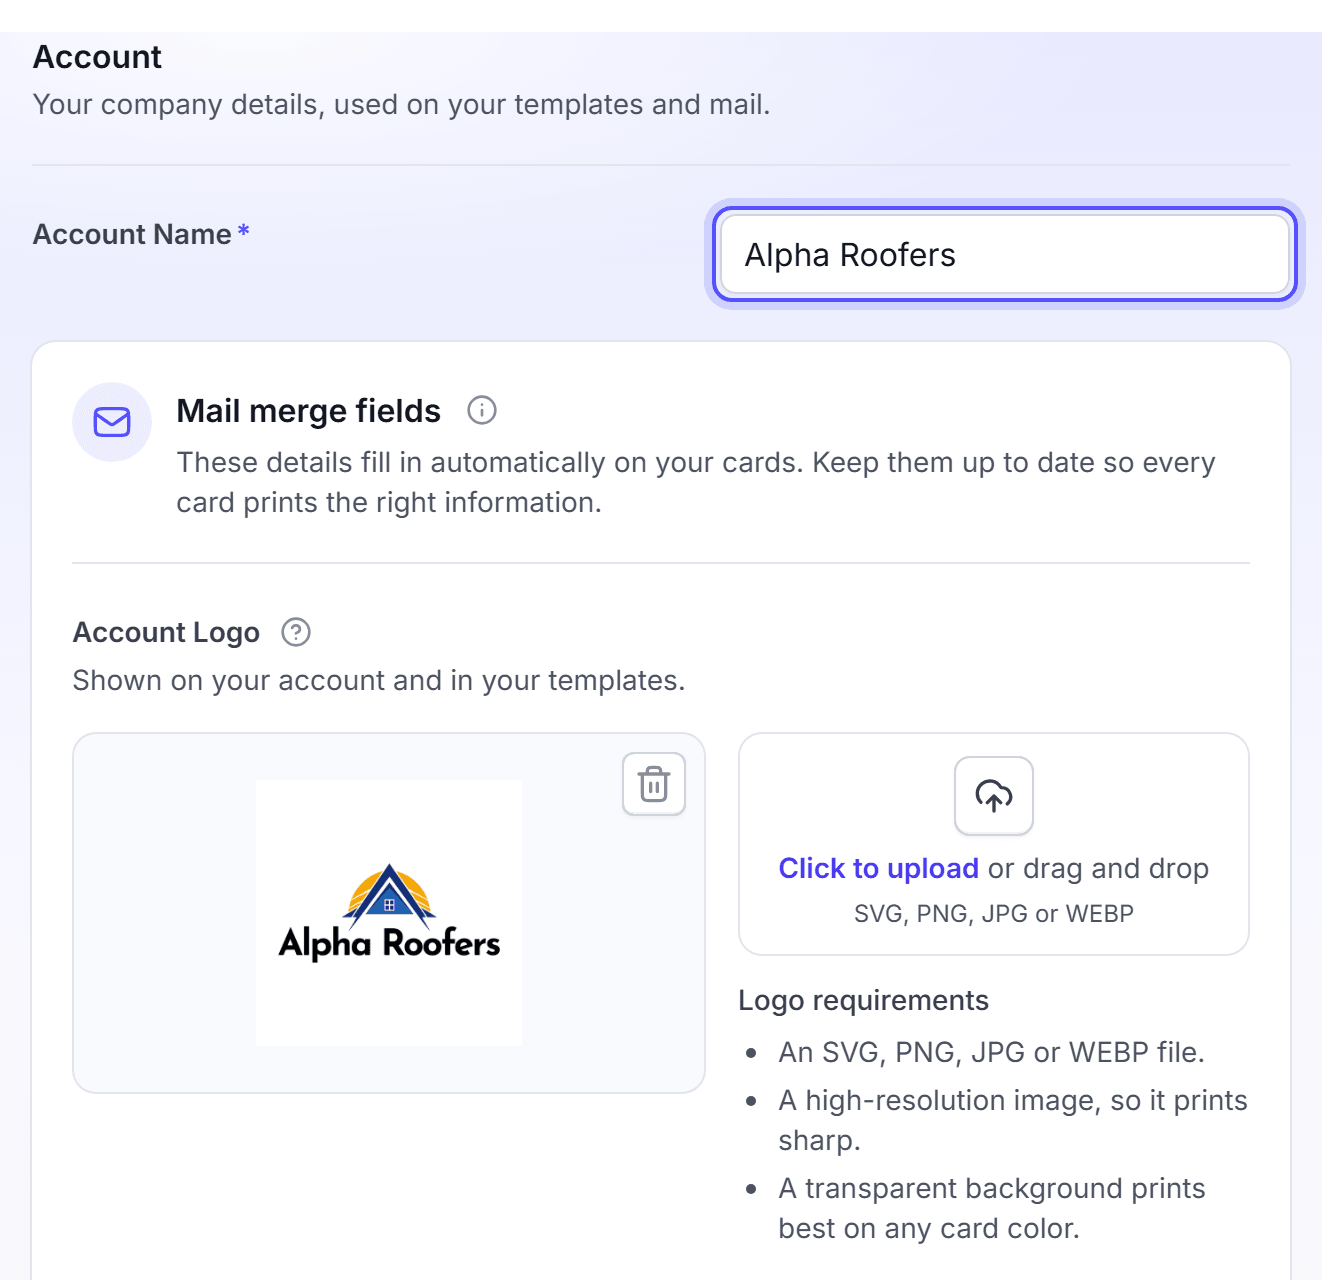
In Company Name, enter the name your customers know, for example Smith Family Plumbing.
In Business Website, enter your website as it must print, for example yourwebsite.com. LettrLabs prints the text that you type.
In Phone, enter the phone number that your cards show as the call to action.
Optional: In License Number, enter the license number for the fine print.
In Persona, enter the first name of the person who signs the cards, for example Mike.
Optional: In Business Address, enter the address that a template prints in its design.
Click Save.
The card signs off as "Persona, Company Name". Persona shows a preview of the sign-off under the field. Business Address is not your return address.
You're done when the message "Settings successfully saved." shows. New cards print the new values. When a live automation prints a changed value, LettrLabs asks you to update it. See Update your automations after a change.
Upload, replace or remove the logo
The Account Logo prints on the templates that carry a logo. A logo change saves at once, without Save.
Open Settings > Account.
Under Account Logo, click Click to upload, or drop the image on the box.
Pick the image. The dialog Replace the account logo? opens.
Click Replace logo.
To remove the logo, click Remove logo. Then click Remove logo in the dialog Remove the account logo?.
Use an SVG, PNG, JPG or WEBP file. Use a high-resolution image, so the logo prints sharp. A transparent background prints best on any card colour.
You're done when your account and your templates show the new logo. To change it again, upload another image.
Preview how your details print
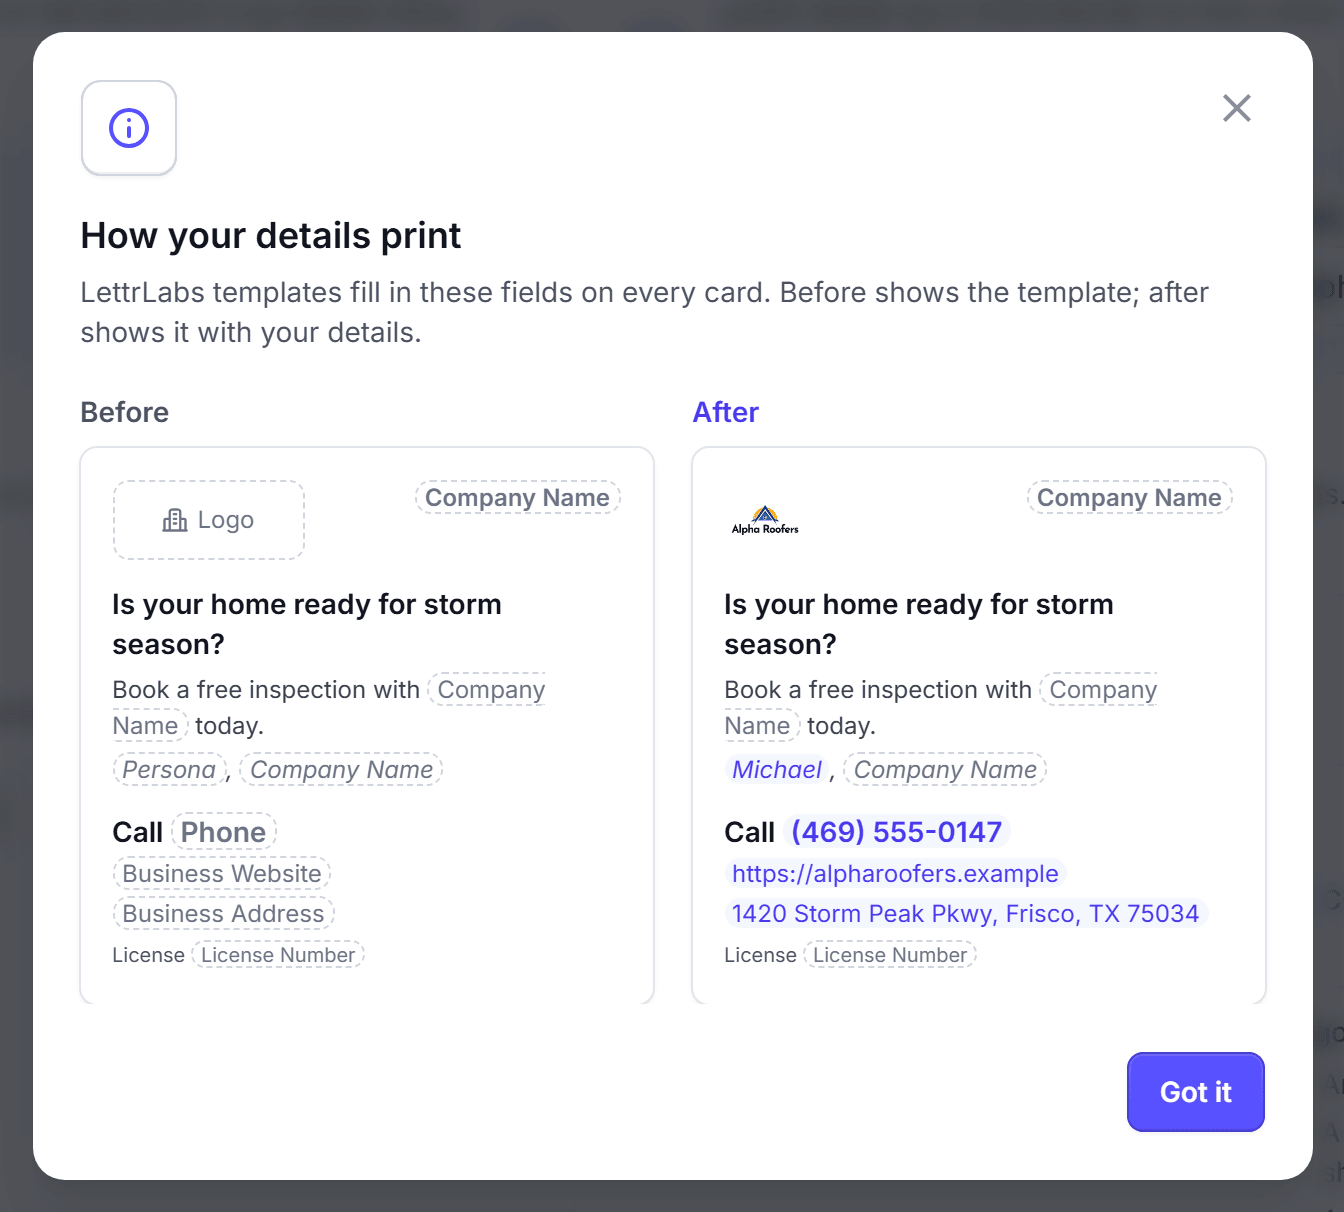
Preview your details to check how a card prints them before you send.
Open Settings > Account.
Click the information icon beside Mail merge fields. Its tooltip reads "See how your details print".
Compare Before and After in the dialog How your details print.
Close the dialog.
Before shows the template with the empty merge fields. After shows it with your values.
You're done when you see your values on the sample card. The preview changes nothing.
Set the return address
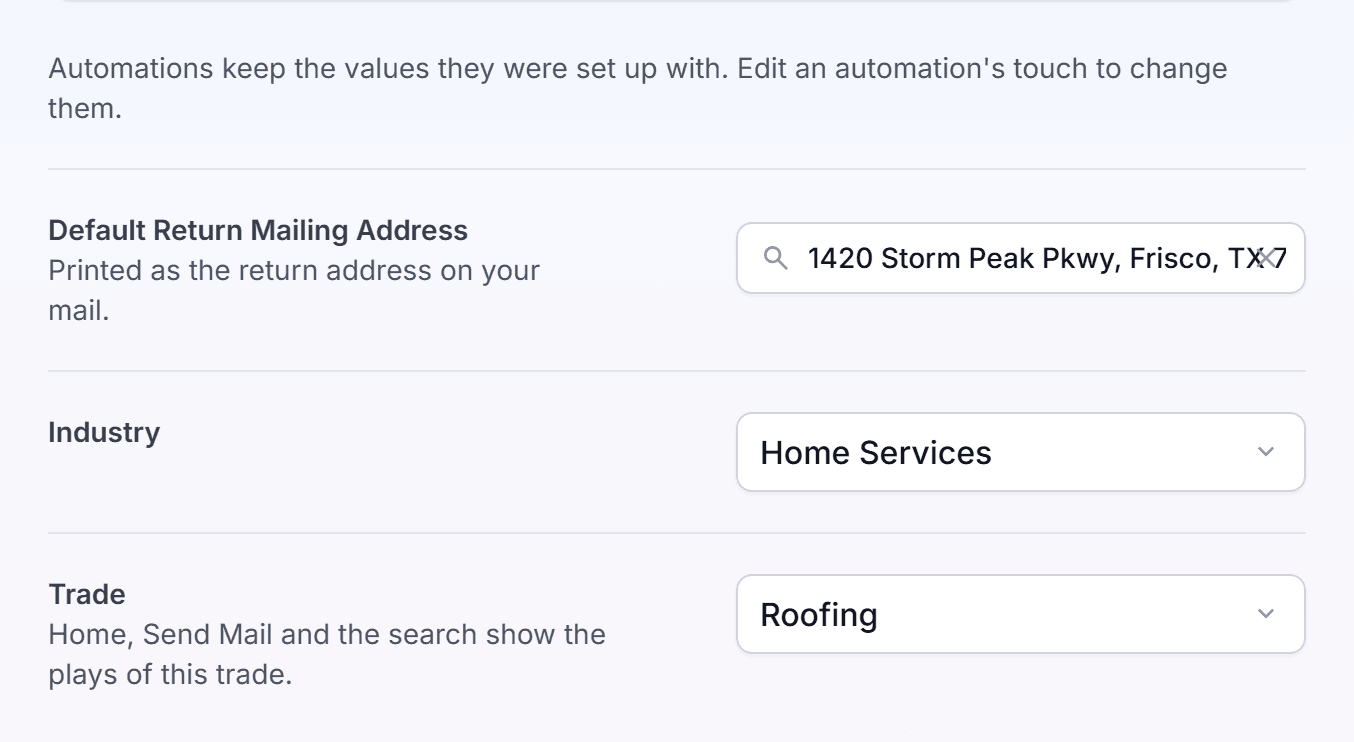
The Default Return Mailing Address prints as the return address on your mail. Set it before your first campaign.
Open Settings > Account.
In Default Return Mailing Address, type the start of your address.
Select your address from the list. LettrLabs does not accept typed text that is not from the list.
Click Save.
You're done when the message "Settings successfully saved." shows. New mail prints the new return address.
Set your industry and trade
Industry and Trade tell LettrLabs which plays to show you. Set them when you start, or when your business changes.
Open Settings > Account.
In Industry, select your industry.
In Trade, select your trade.
Click Save.
You're done when the message "Settings successfully saved." shows. Home, Send Mail and the search then show the plays of this trade. You can change the trade at any time.
Update your automations after a change
An automated campaign keeps the values that it was set up with. When you save a new value that a live automation prints, LettrLabs opens the dialog Update your automations?.
Read the list of changed fields and the number of touches for each.
If the dialog shows a Campaigns list, select each campaign to update. Each campaign shows its old value and the new value.
Click Update automations to print the new values. Or click Keep their values.
You're done when the message "Your automations now print the new values." shows. Keep their values changes nothing. Mail that is already sent does not change. A campaign run that waits for approval keeps the values it was approved with.
FAQ
Related
Payment methods
Add the card that pays for your mail.
Templates
Design the cards that print your details.
Personalization
Fill each card with the details of its recipient.
Steps checked 2026-11-16.