Service Areas
Draw the areas where you work once, and use them in each campaign.
Overview
A service area is a named set of shapes on the map. It shows the place your business serves. When you send a campaign, you can mail only the homes inside your service areas.
You can use Service Areas to:
- Draw an area once, and use it again in each area campaign.
- See how many households each area holds.
- See on the map where your mail was delivered and where it converted.
- Set the area that a new campaign starts with.
Create a service area
Create a service area before your first area campaign. You need the ZIP codes, cities or counties you serve, or a map of the area.
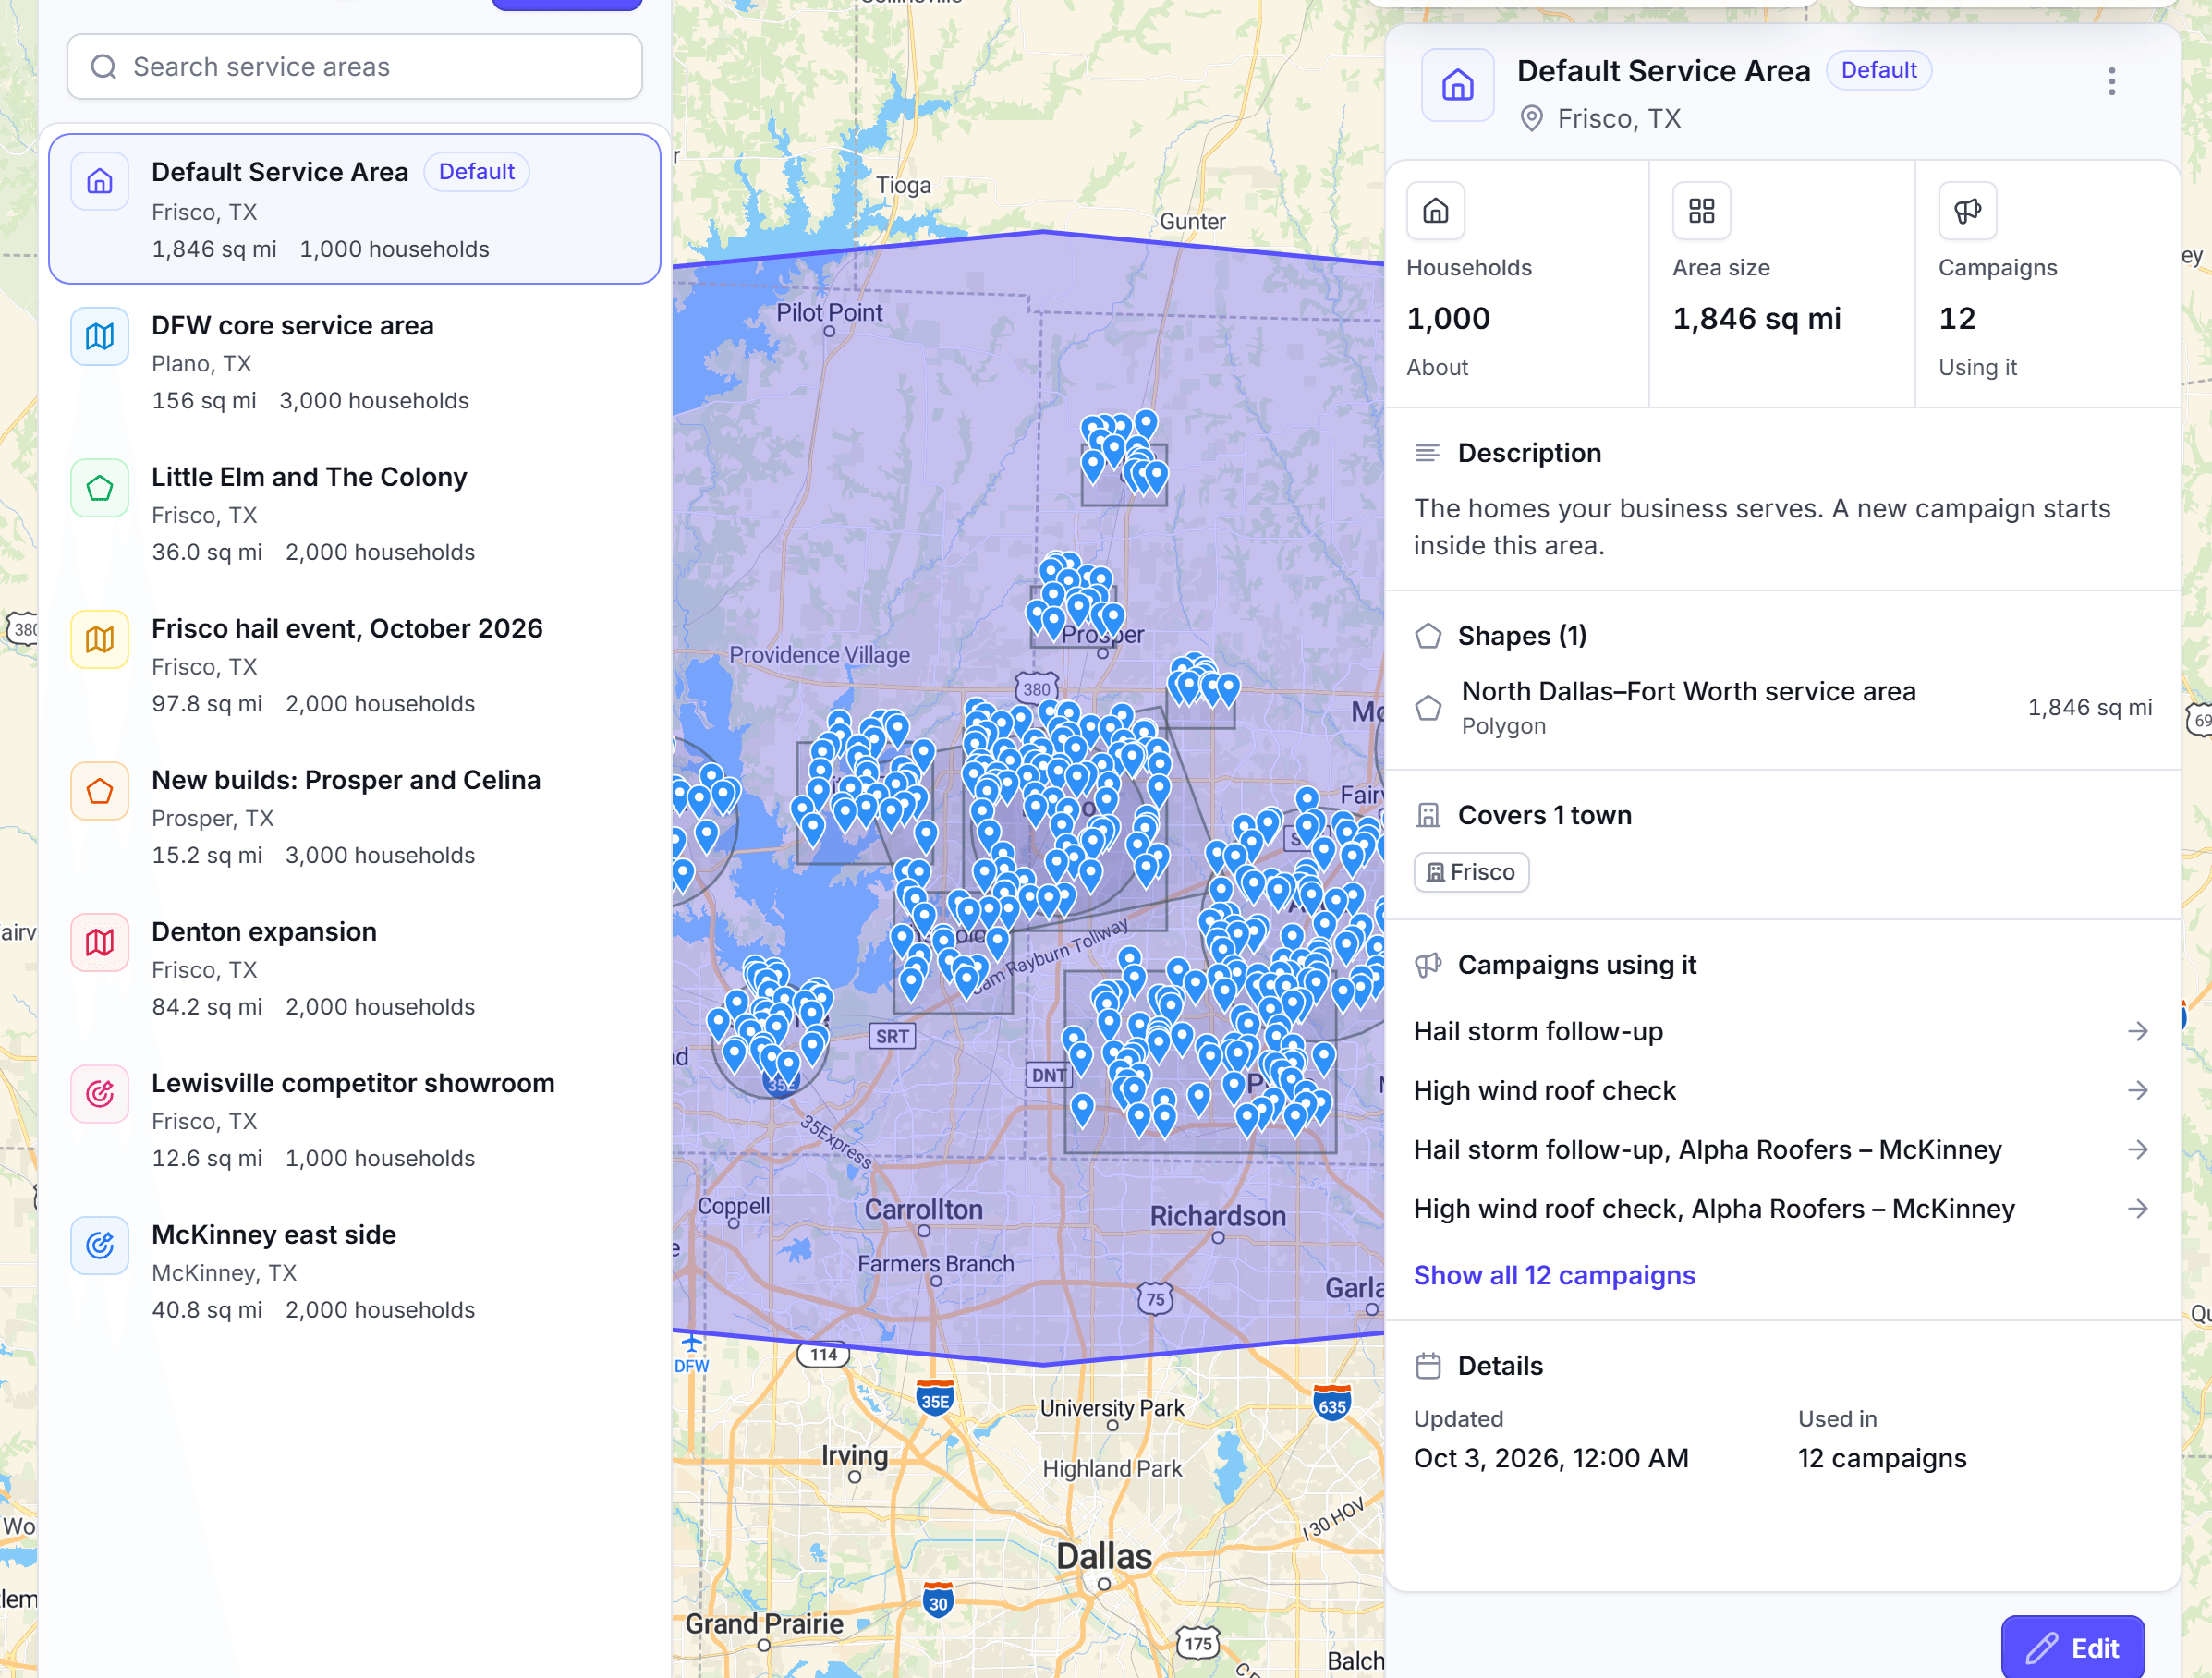
In the left navigation, under Audiences, click Service Areas. The map opens.
Click New. If you have no service area yet, click New service area. The New service area editor opens.
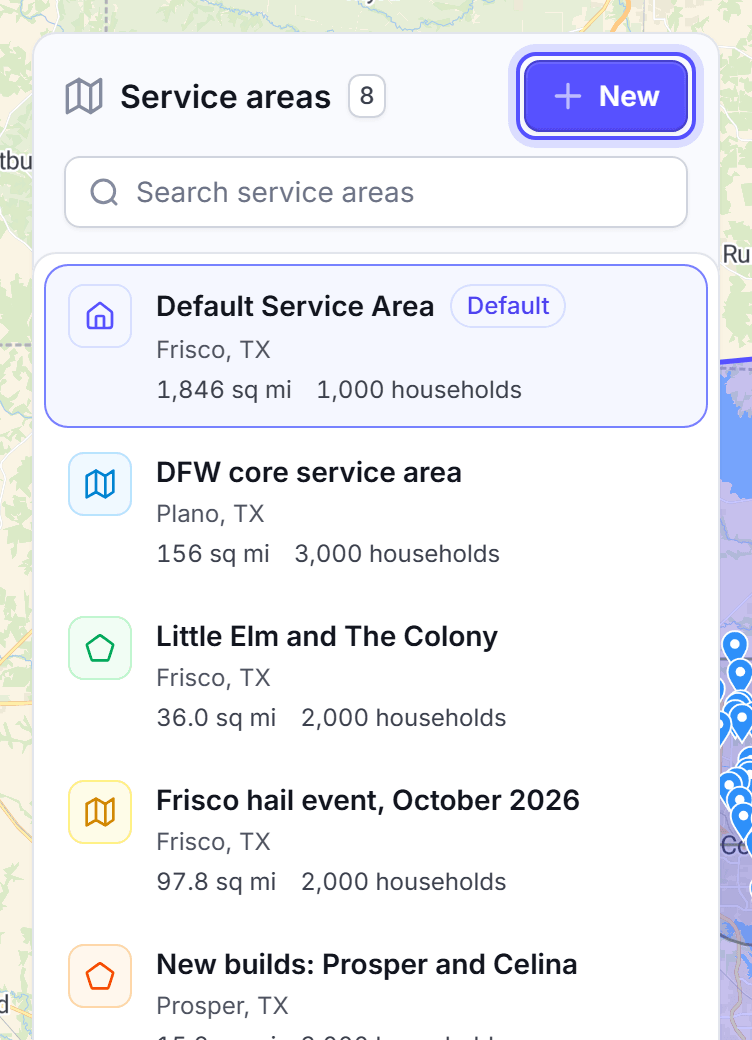
In the name field, enter a name, for example North Frisco.

Optional: In the description field, enter what the area is for and who works it.
Optional: Click the colour and icon picker, and select a colour and an icon.
Add one or more shapes to the map. Use one of the methods in the table below.
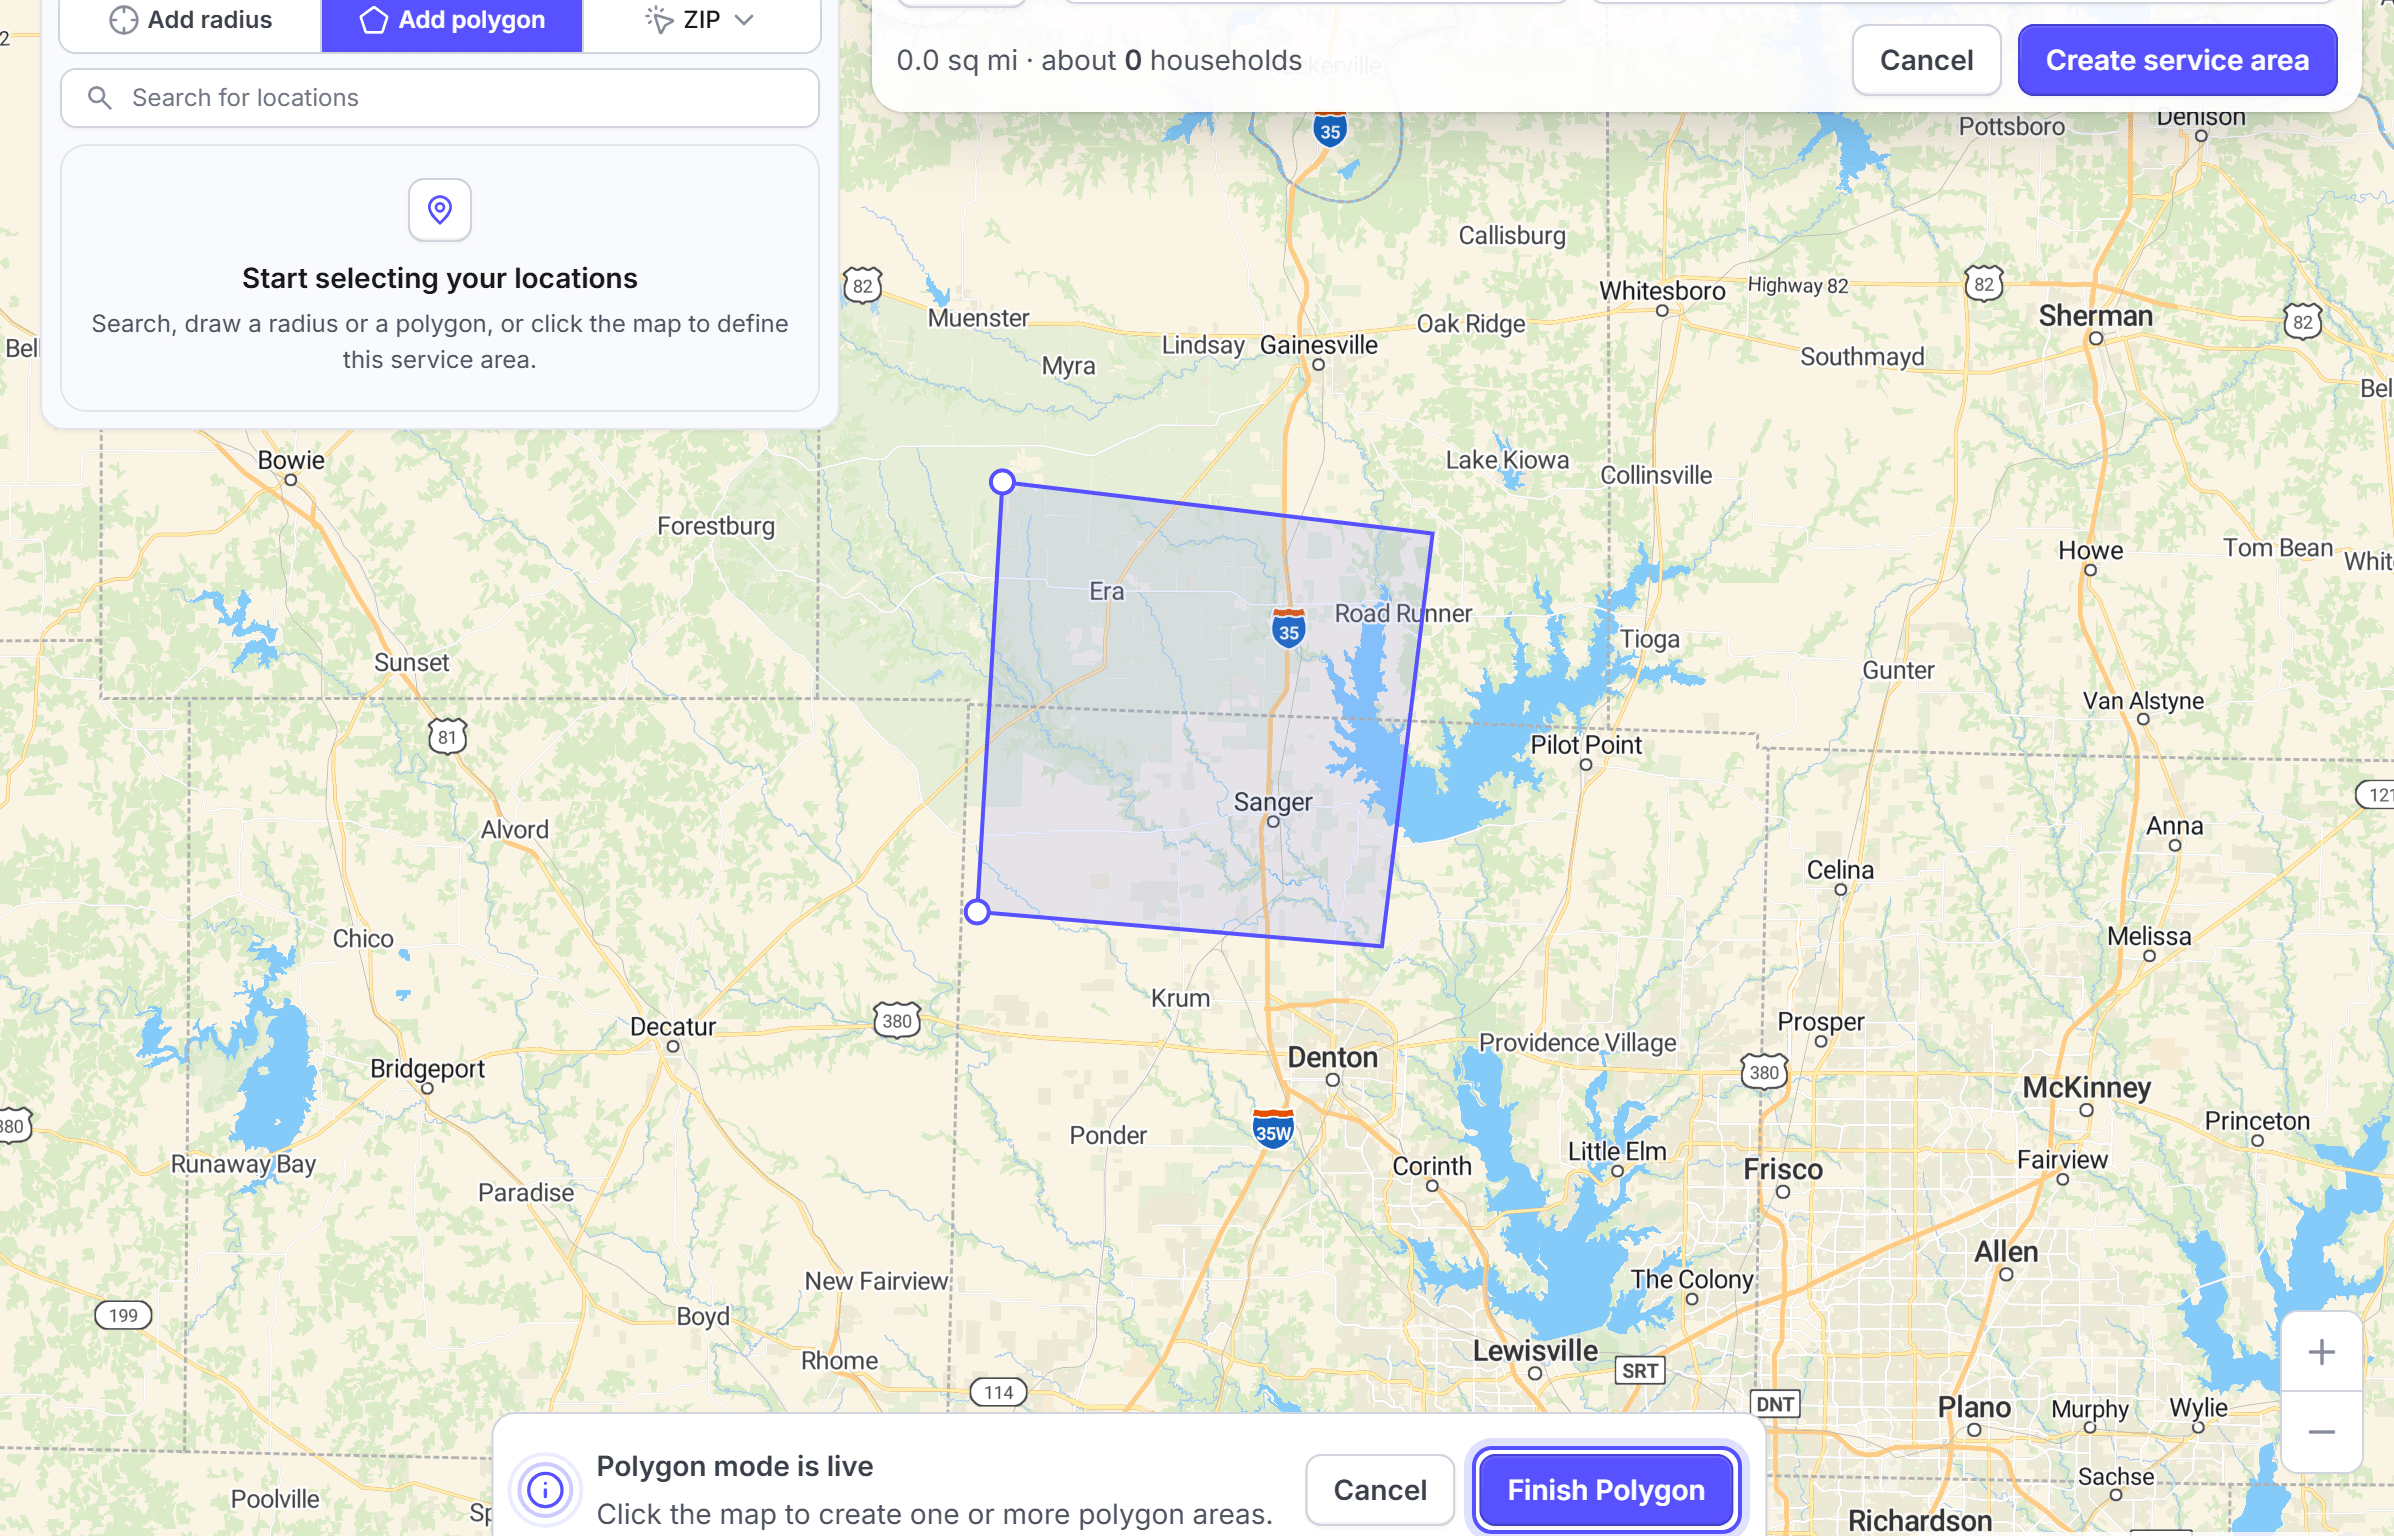
Read the household count in the top bar. It reads "about" and a number of households.
Click Create service area.
The methods to add a shape are in the table below.
| Method | What you do |
|---|---|
| Search | In Search for locations, enter a ZIP code, a city or a county. Then select the result. |
| Polygon | Click Add polygon. Click the map at each corner. Then click Finish Polygon. |
| Radius | Click Add radius, then click the map at the center. Set the Radius, then click Finish Radius. |
| Boundary | In Select area by, select State, County, City or ZIP. Then click the map. |
A radius must be 0.3 to 64 miles. LettrLabs cannot count the homes in a larger circle.
To change a shape, select it in the left panel, then click Edit area. To remove a shape, click Delete area.
When you have no default area yet, the editor shows Save as my Default Service Area. Select it to make this area the default.
You're done when the message "Service area created" shows. The message gives the number of households in the area. A service area costs nothing. You pay only for the mail that a campaign sends to it.
See an area and its household count
Open an area to check its size before you mail it.
Click Service Areas.
In the left panel, click the area. To find it, use Search service areas.
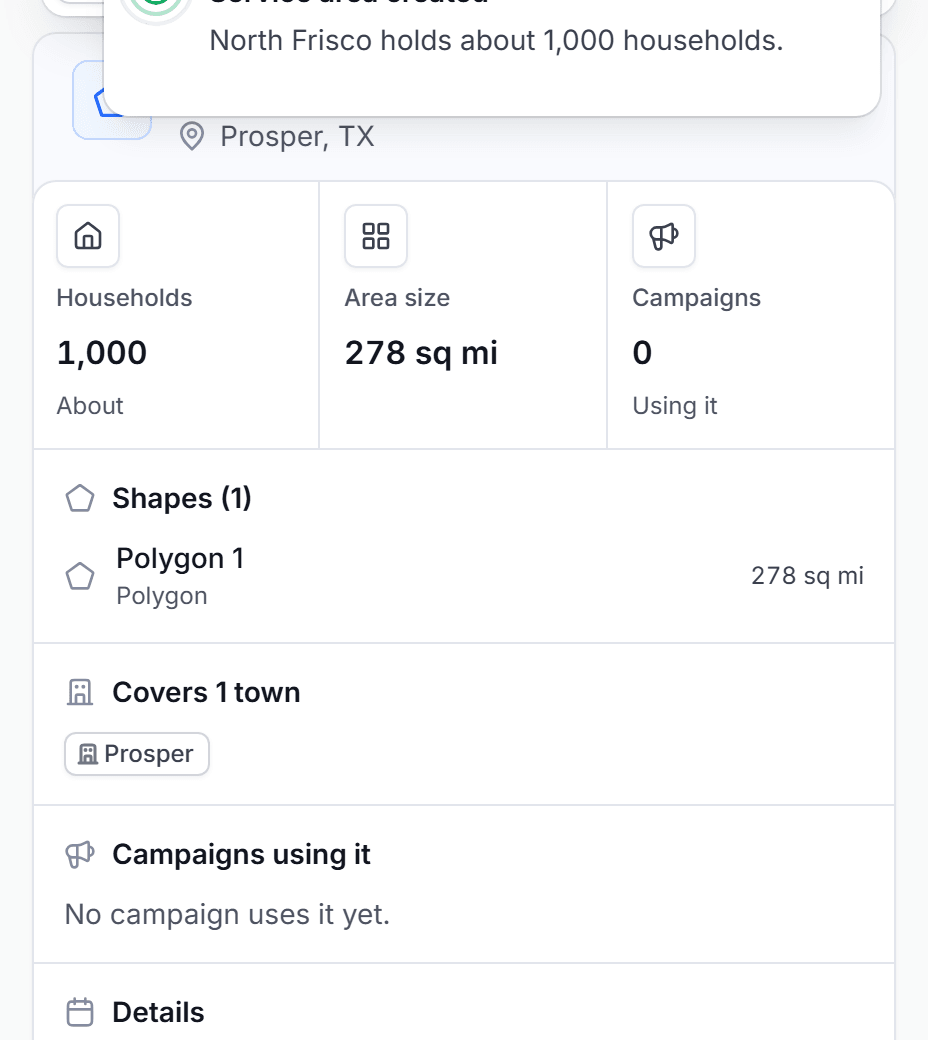
In the right panel, read Households, Area size and Campaigns.
The right panel also lists each shape, the towns the area covers, and the Campaigns using it.
You're done when the right panel shows the figures of the area. Reading an area changes nothing.
Edit a service area
Edit an area when the place you serve changes. You can change the name, the description, the colour or the shapes.
Click Service Areas.
In the left panel, click the area.
In the right panel, click Edit. An area with no shapes shows Draw the area in its place.
Make your changes.
Click Save service area.
The Default Service Area keeps its name. You can change its shapes only.
You're done when the message "Service area saved" shows. The right panel shows the new household count. You can edit the area again at any time.
See mailed and converted homes on the map
Use the map pins to see where your mail went and where it worked.
Click Service Areas, then click the area.
In the map controls, open the event list.
Select Delivered, Converted, Attributed or Mailed.
Optional: Select a date range, for example Last 90 days.
The control shows the number of people on the map. Click a pin to see its event, its furthest stage and its address.
You're done when the map shows the pins for the event and the dates you picked. The pins change nothing in your data.
Set the default area
The Default Service Area is the area that a new campaign starts with. Set it to the area you mail most.
Click Service Areas, then click the area.
In the right panel, click More actions.
Click Set as default.
To undo it, click More actions > Remove as default.
You're done when the menu offers Remove as default for the area. A new campaign then starts with this area.
Delete a service area
Delete an area that no campaign needs.
Click Service Areas, then click the area.
Click More actions > Delete.
In the Delete this service area? dialog, click Delete service area.
You're done when the message "Service area deleted" shows. The area leaves the list and the map.
FAQ
Related
Area and radius mail
Mail every home in your service area.
Dashboards
See what your mail earned.
Glossary
The words LettrLabs uses.
Steps checked 2026-11-09.